Hi everyone,
This is a really fun way to spend an evening (especially if you live in the UK and evenings in winter are cold and wet). Stitching a stocking from scratch may sound like an incredibly hard thing to do and you can just go out and buy one if you wish, but when you make something and you put some effort into it you will always love it more than something just picked up in a store. They aren't that hard to make as I thought it was going to be.
So hang those stockings and . . . Happy Christmas!
1/4 meter of coloured/ patterned fabric
1/4 meter lining
Strip of faux fur for the cuff
Extra fabric for details
Sewing machine
First thing you will need to do is download this pattern and print it out and cut around it (I fun this pattern online it was free and I do not claim any rights or that it is my design).


When you have the pattern cut out and stuck together you will then need your coloured or patterned fabric, I picked up some from a local seamstress. You can also get fabric in most craft stores. Double your fabric over and pin the pattern to the fabric. Then cut around the pinned on pattern. Unpin the pattern then repeat this step with the lining. Make sure you pin both inside out.


Once you have done that you can then stitch around the fabric with your sewing machine, taking the pins out as you go along.
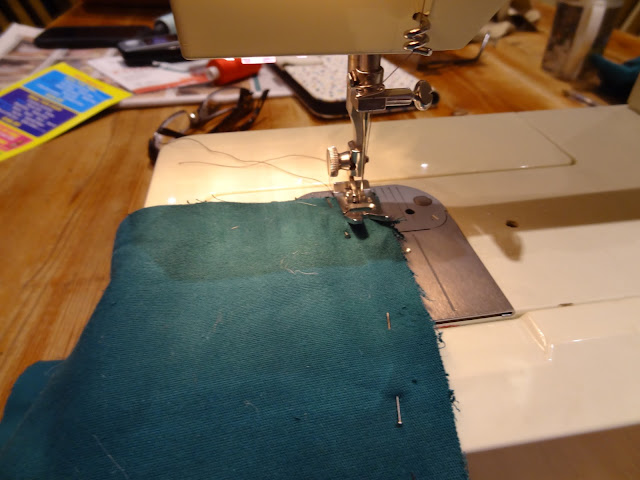

Leave a 4 inch gap in the lining of the stocking you will need this later so make sure you leave it.


Leave a 4 inch gap in the lining of the stocking you will need this later so make sure you leave it.

To make the cuff you will need to cut out a piece of the faux fur 4x the size of the cuff you want.


Turn the outer part of your stocking the right way out and slide the cuff over the top of this. If you want to add a hook pin this to the edge of the stocking so that all the seams line up.
Now then place all of this inside the lining of the stocking and stitch around the top to seal the edges. Don't stitch the top closed.
Now then place all of this inside the lining of the stocking and stitch around the top to seal the edges. Don't stitch the top closed.


Once you have it stitched around the top start to pull the stocking through the hole that you left in the lining earlier Once you have it all through it will look like this.

Stitch up the hole either by hand or machine, then put the lining inside the stocking. There you have it one handmade stocking ready to go or if you want to add some decoration you can do so I added some lettering.

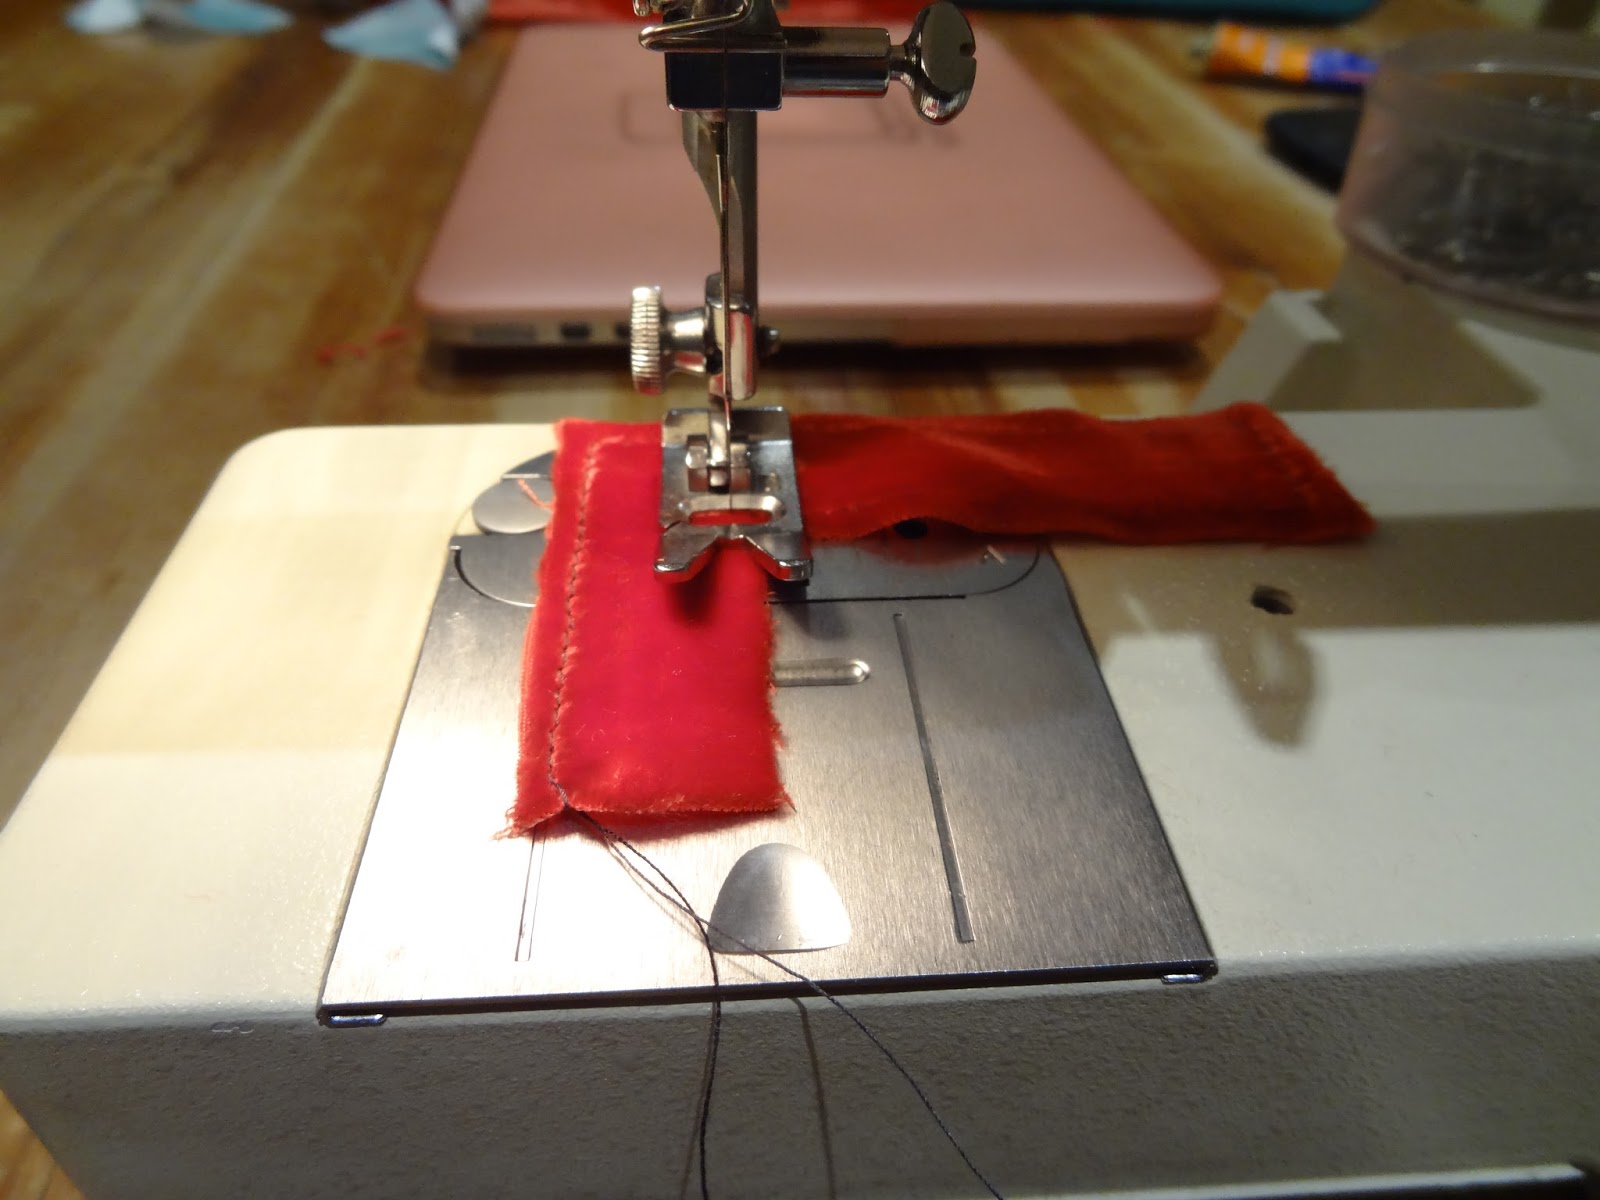
To do the lettering I turned the red fabric around and penned out the letters back-to-front then cut each of them out. Then stitched round them for a nice effect, this will also stop them from unravelling over time.
I then placed my lettering onto the stocking the way I wanted it and used fabric glue to secure it down.


I really hope you have a go making these, (they weren't that difficult and this is the first time I have done them) or just had a good time reading this blog. Don't forget to check out my other blogs and keep checking back for more instalments in the 12 blogs of christmas. If you do decide to recreate this or any of my other crafts or baking blogs I would love to see them so tag me on Twitter, Facebook or Instagram.
Emma
XX
No comments:
Post a Comment