Monday, 2 March 2015

Elizabeth Arden 8 hour cream

Hi everyone,

I have a review for you today not a very long one but one I thought needed to be done as there seems to be a lot of hype about these products recently.

I decided to try the Elizabeth Arden 8 hour creams after hearing all the raving about them. Personally I wasn't all that impressed for various reasons. I decided to get them after I seen them in the Black Friday sale on Amazon. I got the 8 Hour skin protectant for £11.99 on Boots it is currently retailing for £26. I got the 8 Hour lip treatment for £12.11. On Boots it is currently retailing for £18.


So after using them for about a month I really don't know what to think of them I can't see any major difference in my skin, at the start I was almost trying to kid myself that they were doing something or maybe another few days I will see a difference but after a month of use I had to suck it up and admit that they weren't doing anything.

The larger tube has a strange smell and is quite greasy feeling on my skin. The smaller tube is a lip treatment but can be used anywhere on the skin it doesn't have the smell and isn't quite as greasy feeling. Both of the creams are quite heavy feeling I wouldn't say that they are sticky but I can definitely feel them on my skin. The lip treatment gives a bit more moisture than the cream in the large tube however in my opinion neither of them are something I would be reaching for to give my skin a boost.

Left: 8 Hour cream nourishing lip balm SPF 20
Right: 8 Hour cream skin protectant

Although I know a lot of people love these products they are definitely not my favourite creams, although I would personally consider them more of an gel or balm type texture.
I will maybe give them another go in a while and see if my opinion changes but for now I'm defiantly not in love.

I do just want to say that this is my opinion and my skin is of course different to everyone else's skin so do not let me put you off buying it if you want to try it or someone has recommended it to you.

If anyone has tried a cream that they really love please comment and I'll give them a go.

Thanks for reading if you liked this check out my other blogs and subscribe and share.

Emma 
XX

Monday, 23 February 2015

Wheaten Bread

Hi everyone,

I have a very simple recipe today for wheaten bread (this is for you Magi). Hope you have fun making it.
It took me quite a while to find a recipe that was simple enough that you probably have all the ingredients in your cupboard and nice enough to blog about. So here it is and it tastes delicious especially with some homemade strawberry jam (coming up in a future blog post!).

Ingredients

12oz wholemeal flour
12oz plain flour
2oz unsalted butter (room temperature)
3tsp baking soda
1tsp salt
Carton buttermilk (1 pint)

Method

Mix all your dry ingredients into a bowl.
Add your unsalted butter and use the rubbing in method until it looks like breadcrumbs.
Mix in the buttermilk slowly with a wooden spoon until it forms a dough consistency.
Divide into 2 1lb tins.
Bake at 180 for 3/4 hour.


Instgram or tweet me your pictures if you decide to have a go. Happy baking and I'll see you next Monday. 

If you like my blog don't forget to like, subscribe and share it with your friends.

Emma 
XX

Monday, 9 February 2015

Peanut butter and chocolate cookies

Hi everyone,
 I have a recipe I really must share I get requests for these all the time at work and at home, friends and family just can't get enough.

Peanut butter and chocolate cookies!

Ingredients

 230g Unsalted butter (room temperature)
210g Caster sugar
 210g Soft light brown sugar
2 Eggs
1 Teaspoon Vanilla extract
 240g Crunchy peanut butter
360g Plain flour
2 1/2 Teaspoons Bicarbonate of soda
1/2 Teaspoon salt
As much chocolate as you want I use 1 cup each of dark and milk chips

Method

Preheat the oven to 170°C.

 Place the butter and sugars in a mixer with the paddle attachment and cream on medium/high speed until light and fluffy.

Add the eggs one at a time scraping down the bowl with a rubber spatula in between additions.

Turn the mixer down and add the peanut butter and vanilla extract.

Add the flour, bicarbonate of soda and salt mix well until a dough is formed then add the chocolate very slowly on a very slow speed.

 Divide the dough onto the prepared baking trays. (The cookies will spread so about 6 per tray).

 Bake for 12-15 minutes or golden on the edges depending on how gooey you would like them.

 Once baked leave to cool slightly on the trays before setting out onto a cooling rack.

Lastly enjoy your gorgeous cookies they are sooo delicious.


Don't forget if you liked this blog please share like and subscribe. Check out my other blogs which are full of recipes and other fun things.

Emma
XX

Monday, 2 February 2015

MAC haul :-)

Hi everyone

Ok so I know this will come as big surprise but when I was at Ikea in Belfast getting my Alex unit to put my makeup in I had to call into MAC because I had 6 empty containers and for anyone who doesn't know when you have 6 emptys from MAC you get a FREE lipstick. So be sure to keep any empty you have.

So I got a lipstick I wouldn't really have bought myself called Crosswires and because I was there I also got two other lipsticks I had been eyeing up for a while called Mehr and Amorous, and to add to my already full hands I picked up a lip pencil in Brick and an eyeshadow in Embark. Like a kid in a candy shop when I go in there.


Crosswires is a beautiful coral-pink colour. It is a creamsheen so will last 2-3 hours on the lips but leaves a nice pinky stain for another few hours after.


Mehr is a subtly blue-toned medium pink. It has a matte finish. The colour coverage is opaque, and the finish is mostly matte. The texture is soft and creamy. This shade wears for 5-6 hours. 


Amorous is a satin finish and will stay on the lips for about 4-5 hours the colour looks a little daunting but it is a gorgeous colour on the lips a pinkish plum. 


I picked up a lip liner in colour Brick MAC describes this as a golden red personally I can't really see any gold but more of a true red colour great colour for lining with Russian Red lipstick (P.S. first ever MAC lip liner I have bought)


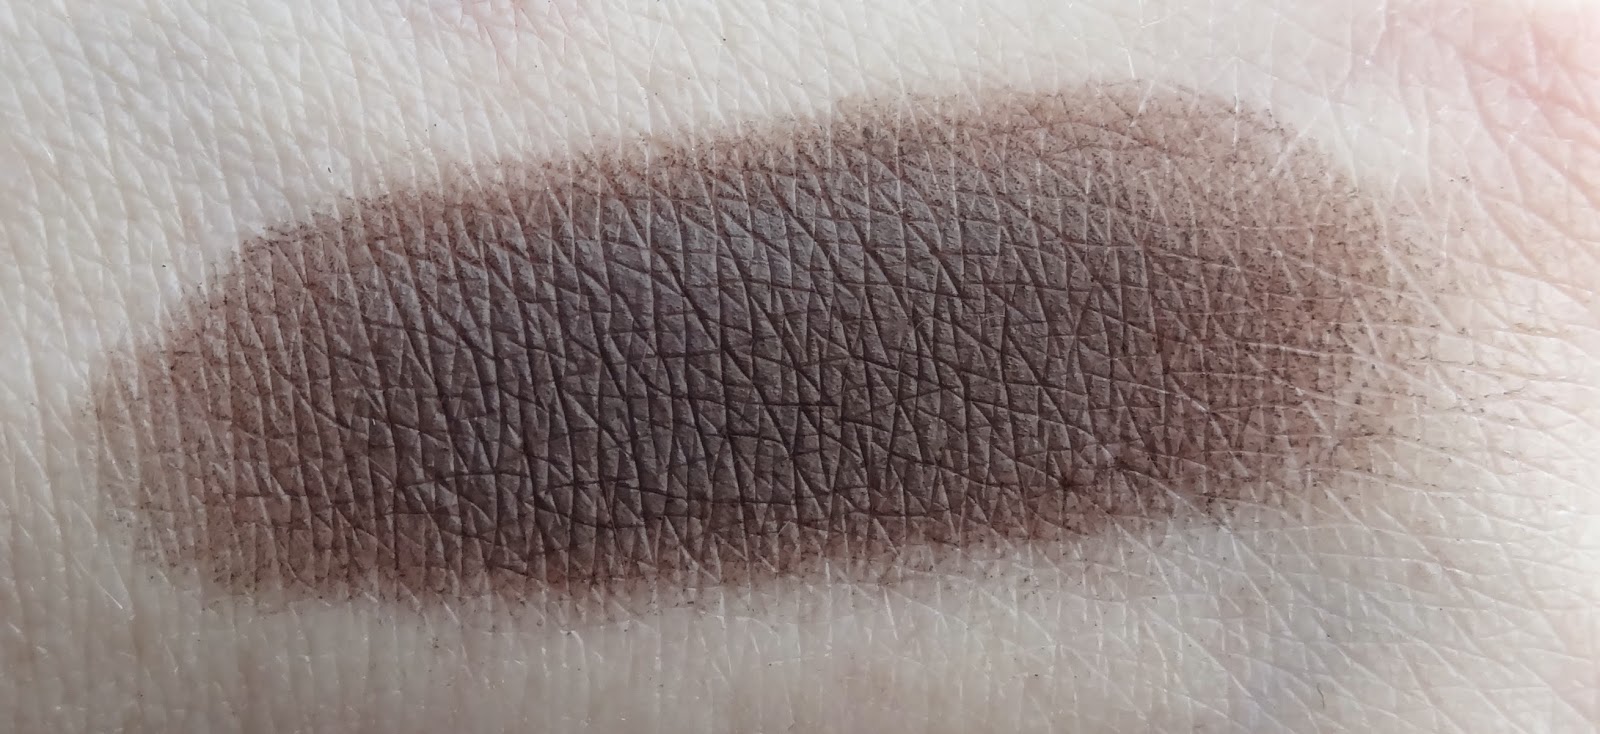
The eyeshadow I picked up is called Embark. I got it to go with the Swiss chocolate eyeshadow from MAC. I needed something to deepen the outer crease area of my eye when wearing Swiss chocolate. This eyeshadow is a very intense brown with red undertones and a matte finish.


Thanks for having a read if you liked this blog take a look at my others and share and subscribe.

I buy all my MAC products either in store or online at http://www.maccosmetics.co.uk 

Emma
XX

Thursday, 22 January 2015

Coffee ring cake

Hi there I have here a gorgeous coffee cake recipe for you the smell drifting through the house when you bake this is amazing. So have a go.

Ingredients

2 Tablespoons of instant coffee
 450g Unsalted butter room temperature
 450g Caster sugar
 8 Eggs
 450g Plain flour
 2 Tablespoons baking powder
 2 Teaspoons cocoa powder

Method

 For the coffee essence put the granules and 170ml of boiling water into a saucepan and boil on a medium heat until it has reduced by about half. Remove one tablespoon to be used later in the frosting.


 Preheat the oven to 170°C.

 Place the butter, sugar and coffee essence in a stand mixer and beat with a paddle attachment until fluffy.

 Add the eggs one at a time scraping down the bowl with a rubber spatula in between each addition.

Beat in the flour,  baking powder and cocoa powder slowly until all is combined.

Pour mixture into a prepared ring tin (25cm) bake for 40-50 minutes using a metal squewer to test if it is done.


Ingredients for frosting

 1 Tablespoon of the coffee extract
 250g Sifted icing sugar
 25ml Whole milk

Method

Add the Icing sugar and whole milk to a bowl mixing slowly with a hand mixer or a stand mixer when combined add the coffee extract. Spread onto the cake and sprinkle with flake.


Emma 
XX

Don't forget if you liked this like, share and subscribe. Have a look at my other blog post to see more yummy recipes.

I got my hair cut

Hi everyone,
I'm not sure if anyone reads my blog enough to care but I got my hair cut and OMG I love it. I have always had really quite long hair but recently I have been hating it basically just tying it up and nothing else. So to the absolute delight of my hair dresser i asked her to cut it up to almost a bob (she's a little bit strange like that she loves to cut long hair of) so here are some before and afters.


As you can see from the pictures its shorter at the back than it is at the front. I am so happy that I did this it has allowed me to really do something with my hair and not be afraid of curling it and it falling out after an hour (also the hairdressers don't curse my name when i come in to get my hair put up). Over all if you are thinking of getting the chop do it! It is only hair and it will grow back, if you don't like it wear extensions.

Emma 
XX

Wednesday, 31 December 2014

Jus Roll Pastry reviews

Hi everyone,
I saw these in the local supermarket and thought I would give them a try. I bought the croissants and the pain au chocolate and I will defiantly be trying more from the range and these one again they are so easy to make and taste amazing.

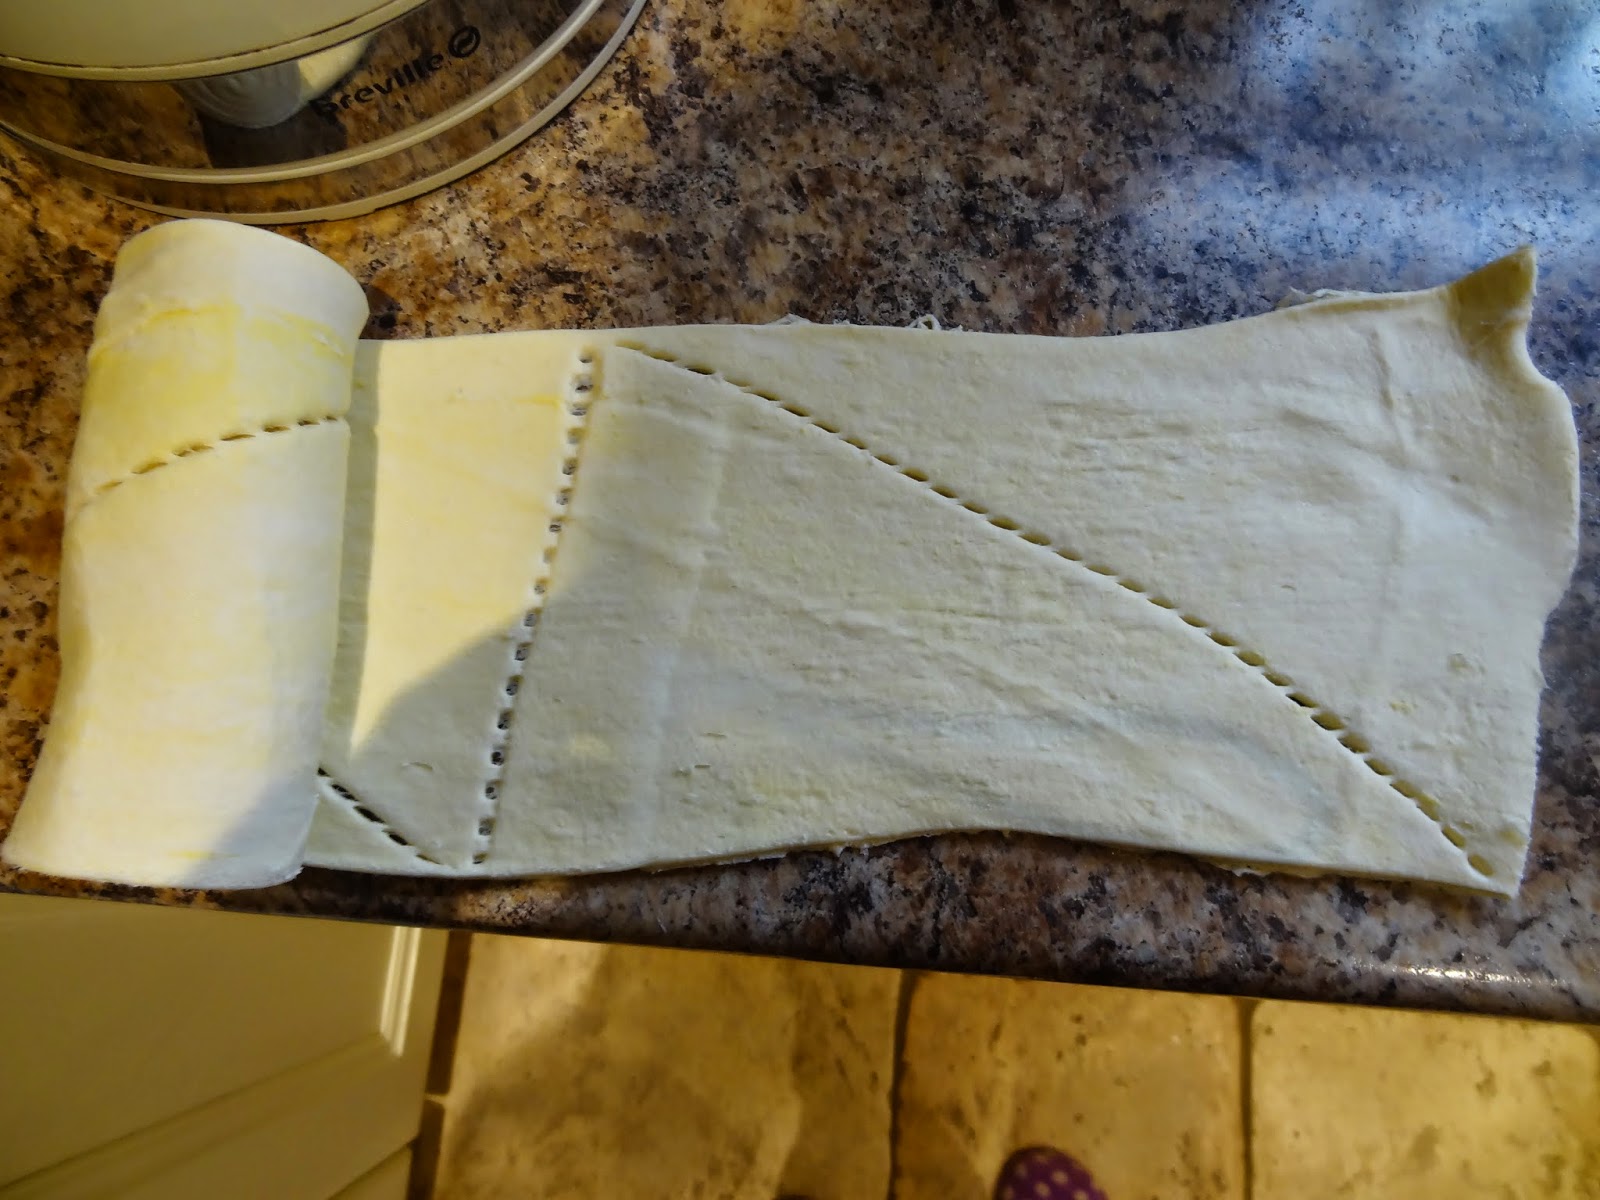
For the croissants you twist open the can and out comes your pastry all you have to do is cut along the dotted lines and roll up brush with milk and put into the oven.


The pain au chocolate you twist open the can cut along the lines set the chocolate in and roll up. Simple.

They are both cooked at 180C in a fan assisted oven.


Most of them disappeared before I could get a picture. So go grab some of these tasty easy bakes and make something special for breakfast or lunch.

Emma
XX