Wednesday, 21 October 2015

Pumpkin Pie

Hi everyone,
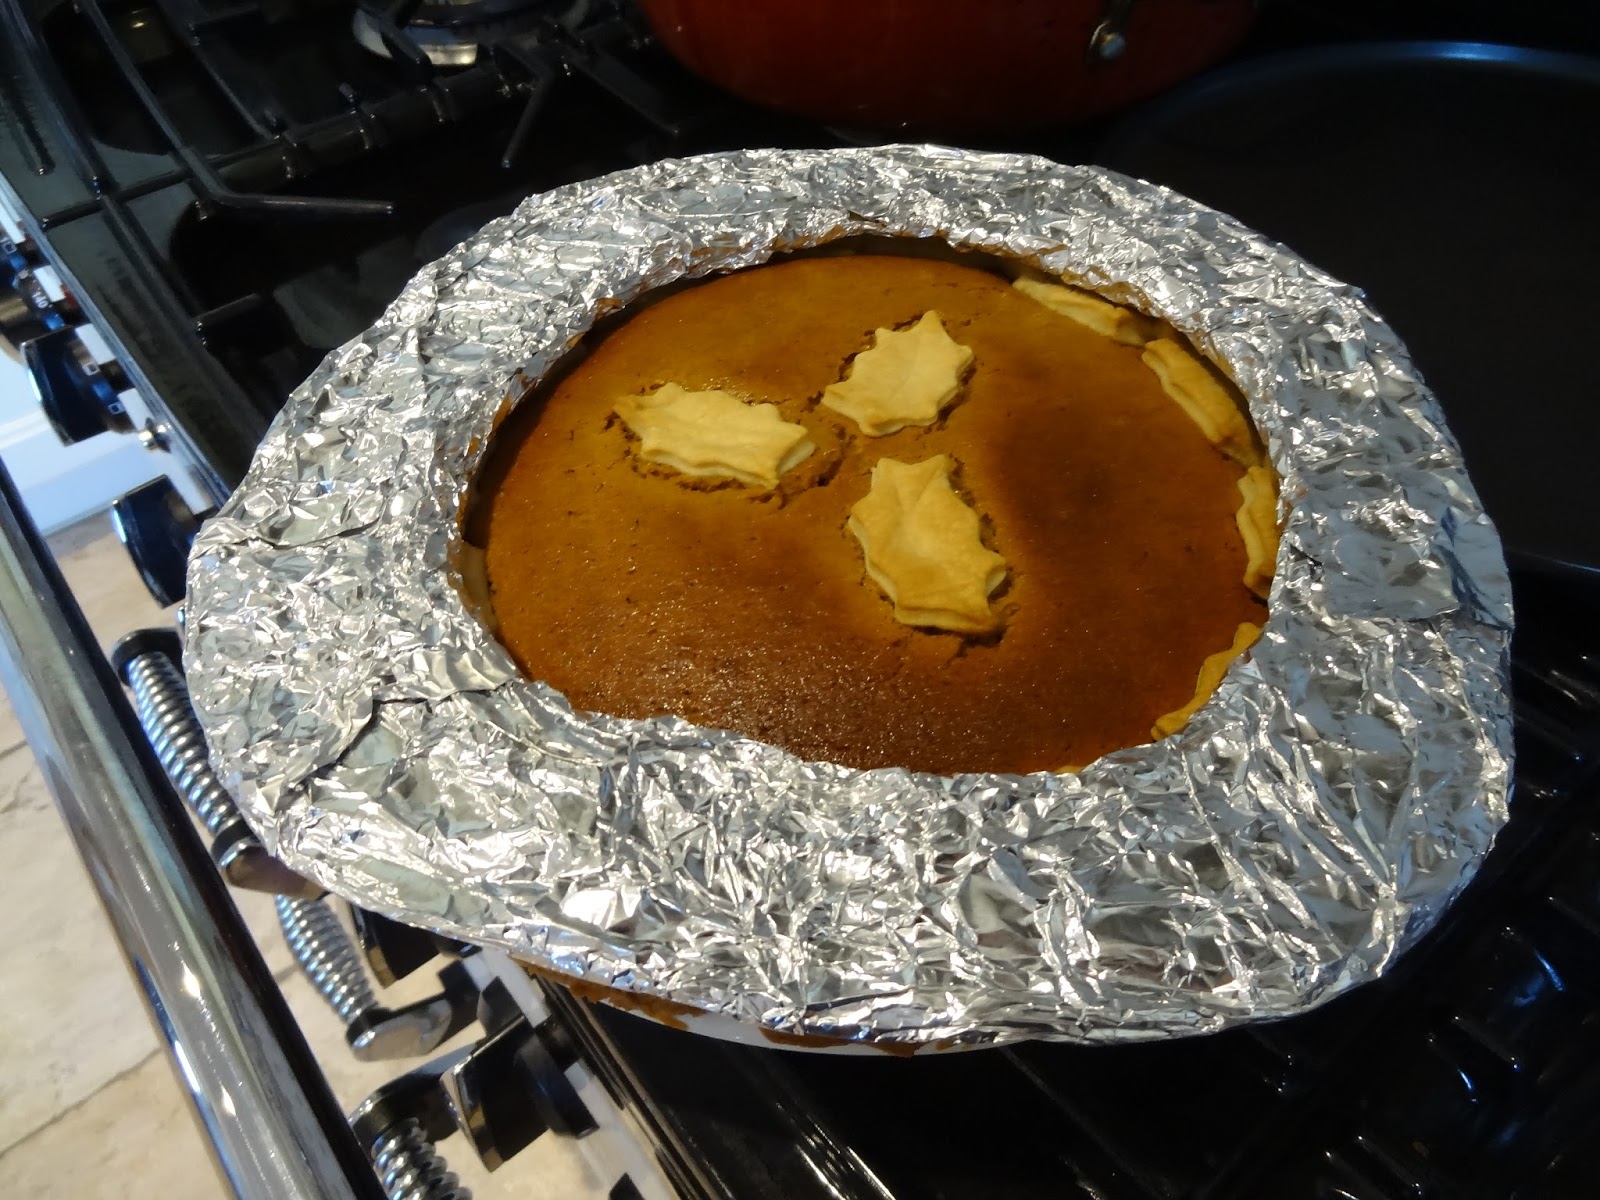
So as autumn approaches I am getting really excited I love this time of year the leaves are all changing colour and big cosy jumpers are back. I was wondering what should I do for this blog and then it hit me obviously Pumpkin Pie. I love this recipe it tastes so delicious and has all the spices that I love in it. So on to the recipe (I also got a new pie dish its so cute).

Pumpkin Pie

15oz can, 450g pumpkin puree
3 large eggs
250g packed dark brown sugar
1 Tbsp cornstarch
1/2 teaspoon salt
1 Tbsp pumpkin pie spice
1/8 Tsp fresh ground pepper
240ml heavy cream
60ml milk
1 large egg beaten with 1 Tsp milk, for brushing
1 roll of ready made shortcrust pastry (or you can make your own)


For the filling: Whisk the pumpkin, 3 eggs, and brown sugar together until combined. Add the cornstarch, salt, cinnamon, ginger, nutmeg, cloves, pepper, cream, and milk. Vigorously whisk until everything is combined. Filling will be a little thick.

Preheat oven to 350F degrees. Blind Bake for about 10 minutes.


Pour pumpkin pie filling into the pre-baked crust. If you did not use a deep dish pie pan, you will have too much filling. Only fill the crust about 3/4 of the way up. 

Bake the pie until the center is almost set, about 55-60 minutes give or take. A small part of the center will be wobbly.


After 25 minutes of baking, be sure to cover the edges of the crust with aluminum foil or use a piecrust shield to prevent the edges from getting too brown.


Check at 50 minutes, and then 55, and then 60 if still not done keep checking at 5 minute intervals.


Once done, transfer the pie to a wire rack and allow to cool completely for at least 3 hours. Serve pie with whipped cream if desired. The pie will sink while it is cooling this is fine and don't worry when it does.


So I hope you all have a go at this recipe and enjoy eating it as much as you do baking it. Don't forget if you liked this blog to check out my others and like, share and subscribe.

Emma
XX

Wednesday, 23 September 2015

Salted Caramel cupcakes

Hi, everyone
I have a pretty tasty recipe for you all today Salted Caramel cupcakes, oh yes. I have made these before and had the immediate thought that I must make these again for my blog because they are soo amazingly tasty. I actually can't believe I waited this long to get it done and make some more of these. Realistically it is the Great British Bake Off that is getting me in the mood to do loads of baking and I pulled out this recipe and just baked them and to pure delight they turned out just as good the second time. does anyone else have that thing where they make something, its amazing and then when you make it again just can't get it right no matter what you do. Just me OK. So have a go with these and send a Tweet an Intagram or Facebook me your results happy baking.

Ingredients
130g self raising flour
65g caster sugar
65g soft brown sugar
130g margarine
1 tsp baking powder
2 large eggs

Cupcakes: 

Pre-heat oven to 175°C and place 12 muffin cases in a muffin tray.

Measure out margarine, brown sugar and caster sugar into the same bowl and cream together until well mixed and turns lighter in colour.

Measure out the flour and the baking powder into a separate bowl.

Add 1 egg to the creamed butter and sugar along with half of the flour and mix well. Repeat this part of the process with the other egg.

Scoop mixture into cases until about half full. I use an ice cream scoop for doing this.

Place the mixture in the oven for approx. 15-20 minutes (check after 15 minutes). Cakes will be cooked when they are springy back to shape when lightly pressed on top.


When cooled down make a little hole in the top of the cake using a knife and add a small scoop of softened salted caramel.


I'm going to let all of you in on a big secret. I did not make the salted caramel for these buns yes shock horror, but who has time to do that. I have included a recipe that I have used to make salted caramel before and it is amazing but for all of you out there who don't have time I just used a pot of salted caramel which is pretty tasty to, so there.

Salted Caramel

100g granulated sugar
45g salted butter
60ml double cream
½ teaspoon salt

Heat the granulated sugar in a ban marie, stirring continually. Take care that the water is not touching the bottom of the bowl. The sugar will form lumps and eventually turn into a thick liquid.

Stir continually until the sugar is completely melted.

As soon as the sugar has melted, add the salted butter. The butter will make the mixture bubble up.

Continue stirring the mixture until the butter has completely melted, then slowly and carefully add the cream as the mixture will bubble up again.

Continue to stir the mixture until it comes to the boil and then continue to heat for about a minute. It will begin to rise up the sides of the saucepan as it boils.

Remove from heat and stir in salt. You may want to add a little extra salt depending on how salty you like your salted caramel. Leave to cool before using.

Butter icing

125g unsalted butter
250g icing sugar

Soften the unsalted butter. Carefully add icing sugar to avoid clouds of icing dust. Mix until fully incorporated and butter icing becomes whiter. 

Optional, add a little salted caramel to the butter icing and mix in well.


Hope you enjoyed this little blog if you did please check out my others and don't forget to like share and subscribe.

Emma
XX

Monday, 21 September 2015

Pecan Pumpkin Spice Cookies

Hi everyone, 
I am really excited for autumn this year so I thought I would do a recipe for Pecan Pumpkin Spice Cookies. The cookies are super soft, buttery, full pumpkin flavor and there are plenty of pecans in every bite. Between the pumpkin pie spice and the scent of pecans baking, you’ll be ready for autumn in no time.

You will get about 16 cookies from this recipe, it takes about 20 minutes to make and cook but there is a minimum 3 hour chill time for the dough. So you could make them in the morning and bake them in the evening when you get home from work.

Ingredients

1/2 cup unsalted butter, softened
3/4 cup light brown sugar, packed
1/4 cup granulated sugar
1 large egg
1 tablespoon vanilla extract
2 tablespoons milk
2 cups all-purpose flour
1 tablespoon pumpkin pie spice
2 teaspoons corn starch
1 teaspoon baking soda
pinch salt
2 cups pecans roughly chopped

To the bowl of a stand mixer with the paddle attachment, or large mixing bowl and electric mixer, combine the butter, sugars, egg, vanilla, and beat on medium-high speed until creamed and well combined, about 4 minutes.

Stop, scrape down the sides of the bowl and add the milk, and beat on low speed until well combined, about 1 minute.

Stop, scrape down the sides of the bowl and add the flour, pumpkin pie spice, corn starch, baking soda, and beat on low speed until just combined, about 1 minute.

Stop, scrape down the sides of the bowl, and add the pecans, and beat on low speed until just combined, about 30 seconds.

Form approximately 16 equal sized mounds of dough, roll into balls, and flatten slightly. 

Bake for about 12 minutes, or until edges have turned golden brown. The cookies will firm up as they cool. Allow cookies to cool on baking sheet for about 10 minutes then you can start eating them and not stop. 


Hope you have fun making these amazing autumn cookies and if you liked this post please like share and subscribe don't forget to check out my other posts for more delicious recipes.

Emma
XX

Wednesday, 5 August 2015

Scholl Express Pedi Review

Hi Everyone 

Ok anyone who is disgusted by feet please navigate away from this page to one of my less feet related blogs. 
I know this isn't a pretty blog and dry skin on your feet isn't a very pretty topic. 
However worse than dry skin is all the creams and gadgets that people try to sell that just don't really work, how many times have you been grabbed by the lady in the shopping centre to try some miracle cream or scrub and being a smuck we all buy them to see if it will in fact banish the dreaded dry skin.

So without further ado I present the Scholl Express Pedi something that I have wanted to try for ages but couldn't justify the £39.99 price tag (Tesco). So when I walked in and it was reduced to £29.99 I still didn't want to pay the price but I did. 
Surprise surprise it actually works this is truly a miracle. 

You can get it in two different colours and two different gradients. I chose pink and extra rough. 
This is the little miracle in the packaging.


And here is the before photo, I don't have all that much dry skin on my feet but its still there.


And the after, I wasn't expecting it to do much but after one use I really noticed a difference.


I have found something that works and even if it meant taking pictures of my feet and showing everyone I was willing to do it so you can all have nice smooth feet as well.

 So I'm not really sure how to end this one as I'm pretty sure no one actually enjoyed looking at feet pictures but if you did great. Don't forget to check out my other blogs I can personally guarantee there is no more feet just baking, beauty and lifestyle.

Emma
XX

Wednesday, 29 July 2015

My MAC eyeshadow palette :-)

Hi everyone,
I am really excited to share this post with you today because it is my MAC eyeshadow pallet :). I love MAC eye shadows and as soon as I finish this post I will probably have to update it as I am constantly buying them. They all have an amazing finish and great pigmentation.

This is my eyeshadow pallet I keep them in the MAC pro pallet which you can get at any MAC store or online. Forgive me they are well used and don't look so great.


MAC have a few different finishes for their eye shadows and by finishes I mean the texture and appearance of an eyeshadow. This will affect the colour payoff and the result for the final look. Another thing that will affect how they look on you is weather you have cool or warm toned skin if you don't know check out my blog on how to find out.

Matte
Matte is classified as high colour payoff and no shine matte finish. These eye shadows have no shine, no glitter and no frost they do not reflect light. You will get the most intense colour with a matte shade.

The shades I have in the matte finish are:


Atlantic blue is a cobalt blue in the pan however this has very little colour payoff I had to scrape the colour out of the pan to get the intensity in the photo. I don't think I will be repurchase this as I was very disappointed with it.

Rule is orange there is no other description for this colour except bright orange, but don't think its not wearable smoked out with swiss chocolate it looks amazing.

Wedge is another warm toned shadow it is a nice light brown and can be worn all over the lid or in the crease for a little bit of colour during the day.

Swiss chocolate is a gorgeous medium brown its very warm toned with a definite orange base.

Embark this eyeshadow is a very intense brown with warm undertones and a matte finish.

Carbon is described as an intense black which may be true if you pack it on but it is a little sheer in my opinion.

Frost 
Frost finish is an iridescent shine that will add highlight to any colour. Frost finish has reflecting particles throughout and creates a pearly shiny effect.

The shades I have in frost finish are:


Naked lunch is a nice warm toned champagne colour I would normally wear this all over the lid as a base colour or over another colour to add sparkle.

Paradisco is a beautiful coral/pink colour with a gold undertone and is one of my more used colours I love this colour because it has a pretty soft shimmer to it.

Amber lights is a very rich coppery brown with gold shimmer in it. It has a warm orange undertone with a metallic finish. 

Steamy this is quite a cool toned green/teal shade with shimmer in it. Its such a pretty colour, one you need to see in person as the camera doesn't do it justice. 

Tilt this is a very light blue with a shimmery finish also one I don't reach for that often as it is so shimmery. However it has an amazing duo chrome effect and one you need to check out in person.

Satin
Satin finish gives colour in a smooth finish it provides a soft subtle non-frost sheen. 

In the satin finish I have:


Brule can be described as a soft creamy beige and is a good base/highlight colour.

Orb is a soft pink/peach it is more for highlighting or as a base colour.

Sushi flower I'm not entirely sure what made me get this as it is pink it has slight golden undertones. I haven't as of yet figured out what way to wear this but it is very pretty and I hopefully will find a way to wear it soon.

Haux this is a nice muted mauve colour and with nice warm undertones. I wear this quite regular in the crease with wedge all over the lid for a quick smokey eye during the day.

Veluxe
Veluxe is a soft creamy version of a matte it has a nice silky finish. 

I only have one of these: Down brown is a subtlety warm toned dark chocolate brown. Its a very intense brown and works really well with a brown smokey eye.


Velvet
Velvet finish is soft with high colour intensity and can range from a matte finish to a full on glitter bomb with this one its name is in regards to the texture rather than the actual finish. 

The only one in this finish I have is: Sketch it is described as a burgundy red shimmer with a muted, dusty brown/burgundy and a matte finish.


Veluxe Pearl
Veluxe Pearl shadows are almost metallic looking. They are ultra-shimmery and very easy to apply and blend over the lid. The shadows themselves are very soft and apply smoothly. 

In Veluxe pearl I have: 


Moons reflexion is a green tinged blue with a silvery sheen so it has a more cool tone to it and an amazing duo chrome effect. It works beautifully all over the lid with carbon blended well in the outer corner.

Freshwater this is a very hard colour to decide wether it is warm or cool toned, its looks like a silvery blue but from some angles it looks like it could have gold tones in it. One I need try to use more I really like it but need to find a nice way to wear.

Expensive pink is a golden pink with a lot of shimmer in it. I wear this one a lot in my crease I usually blend it out with swiss chocolate to tone down the shimmer and put wedge all over the lid.

Star Violet is a beautiful golden purple with warm golden brown undertones and a shimmery finish. It wears really nice all over the lid with Embark or Down brown blended into the crease.

Antiqued is a very warm toned medium/brown with a softer frosted finish. This goes really well with Down brown and Embark.

Sumptuous olive is an amazing golden green shade the duo chrome this colour is amazing one you need to try out as my photo doesn't do it justice. I love using this all over the lid with Embark blended in the corners.

Don't forget to subscribe and share if you liked this blog thanks for reading. 

Emma
XX

I buy all my products of the MAC website (http://www.maccosmetics.co.uk) or directly from the store.

Monday, 13 July 2015

Alcudia Spain

Hi Everyone,

I thought I would do a blog about a beautiful place in Mallorca called Alcudia.

Alcudia is set in a little bay on the east of Mallorca it has beautiful beaches and cool markets. Its also worth while taking a stroll along the promenade to see all the yachts. There are plenty of tasty restaurants and nice places to eat you defiantly won't go hungry. This was my first foreign holiday and I absolutely loved it.


I have been here twice now the first time was for my sisters 30th birthday. Which we spent all the time on the beach or in the bar. One of the days at the beach we rented a boat/slide thing I don't have any photos though didn't think it was a good idea to take the camera into open water.


It had a great club at the far end of the town and we ended up there most nights it was like 5 clubs all in one which was pretty cool.


And thats probably all anyone needs to see of the nights out. On one of the days out we decided to go down to the market but when we where coming back we couldn't get a taxi or a bus anywhere so we seen these horse pulled carts and decided what the hell lets get one of those back, it was pretty cool if not a bit bumpy.


Alcudia is set in around a mountain range which is beautiful to look at first thing in the morning. Luckily enough in the hotel we stayed in there was a small balcony so you could stand and look at all the gorgeous scenery.


The second time I went my boyfriend and I decided to take a trip out on canoes which was really fun I've never been canoeing before. The company we went with where called Sports&Nature they took us to a beach where we made our way around the coast and stopped at some caves.


The guide then took us up some cliffs and jumped into the sea (well Robi did I was too chicken). The instructors had also brought equipment for snorkelling which was really fun. I've never been snorkelling and I did find it a bit challenging at the start because I kept holding my breath, but after a while I got the hang of it.


We also found a really nice pizzeria along the promenade on one of our last nights if we had found it earlier it would have been pizza every night (all inclusive food gets a little monotonous after a week). These were and still are the best pizzas I have ever tasted. 


The days on the beach where pretty chilled and also quite limited as Robi forgot to put suncream on his legs and got pretty badly burned. However we did find some time to build a sandcastle and then we found this cute crab :)


Then we seen this sandcastle and didn't feel quite as proud of ours.


We also did some exploring through the markets and old town of Alcudia.


We took a hop-on hop-off tram ride around the city and walked about a bit this was great we were able to see loads and find some cool places to eat, shop and explore.


That night we took a walk down the promenade and went to an open roof bar, after a while we took a walk down by the yachts and found this guy doing cartoon portraits so we sat and got one done (its pretty funny).


Thanks for having a look at my travel blog hope you liked it and if you did head on over and have a look at my other blogs. Don't forget to like and subscribe.

Emma 
XX

Monday, 6 July 2015

Grannies Kitchen: Strawberry Jam

Hi everyone,

I know this blog won't be for everyone however I was at my grannies house a couple of weeks back and we were making strawberry jam and I thought it would be cool to blog about it. (PS this jam goes deliciously with the scones I made in a previous blog).

So first things first you need strawberries we used 3kg of strawberries to 3kg of sugar (now you are seeing why jam is bad for you lol) 1kg of normal granulated sugar to 2kg of jam sugar. This is a basic recipe and can be used for most fruits. This usually makes around 15 jars.


Granny sterilises her jars in the oven for 1 hour at 100C (this also heats them up so the don't crack when the hot jam is poured in) they need to be kept in the oven until the jam is ready to pour. You will also need to put a small plate in the fridge, this will be to test the jam later to make sure it is setting right.

Once the jars are in the oven and the plate is in the fridge its time to start on the jam. We blend our strawberries until smooth then add them to your pot. I would recommend using a preserving pot for this quantity of jam. 


Add the blended strawberries to the pot and bring up to a boil when this happens start to add your sugar slowly stirring continuously. 


Once all the sugar has been added leave the mix to come up to a rolling boil and set a timer for 4 and a half minutes. Once the time is up turn of the heat.

Then you will need to 'de scum' the jam. There will be a lot of foam like stuff in top of the jam you need to get a spatula and scrape all of this out of the mix. 


Once you have this done you need to test for wrinkles on your cold plate. Spoon a small amount onto the chilled plate and leave for a minute then push the jam on the plate with your finger if it winkles then its done if not you need to set it back onto boil.


Once you have some wrinkling you need to pour it into the jars as quickly as possible as it will set. I suggest pouring into a smaller pan then from the small pan into the jars.


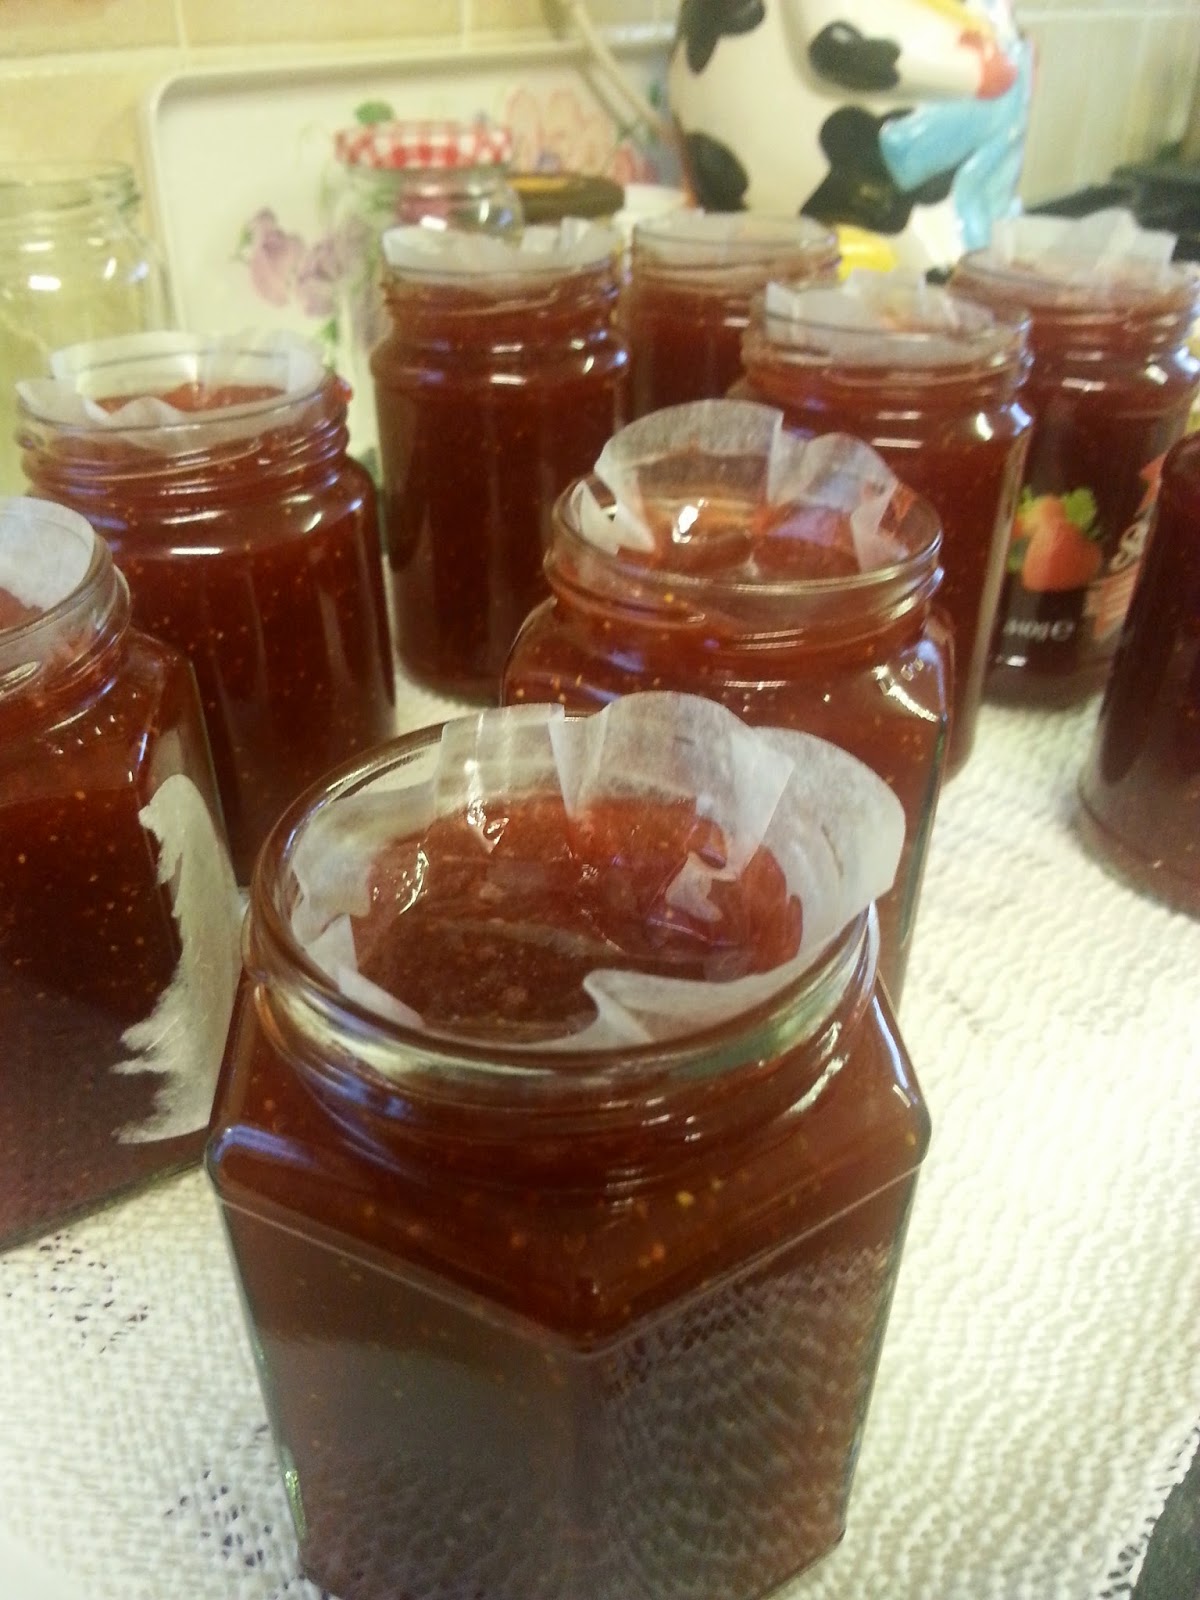
When you have it poured you will need to place jam covers onto the jam so that it doesn't form a hard layer on top of the jam when cooling.


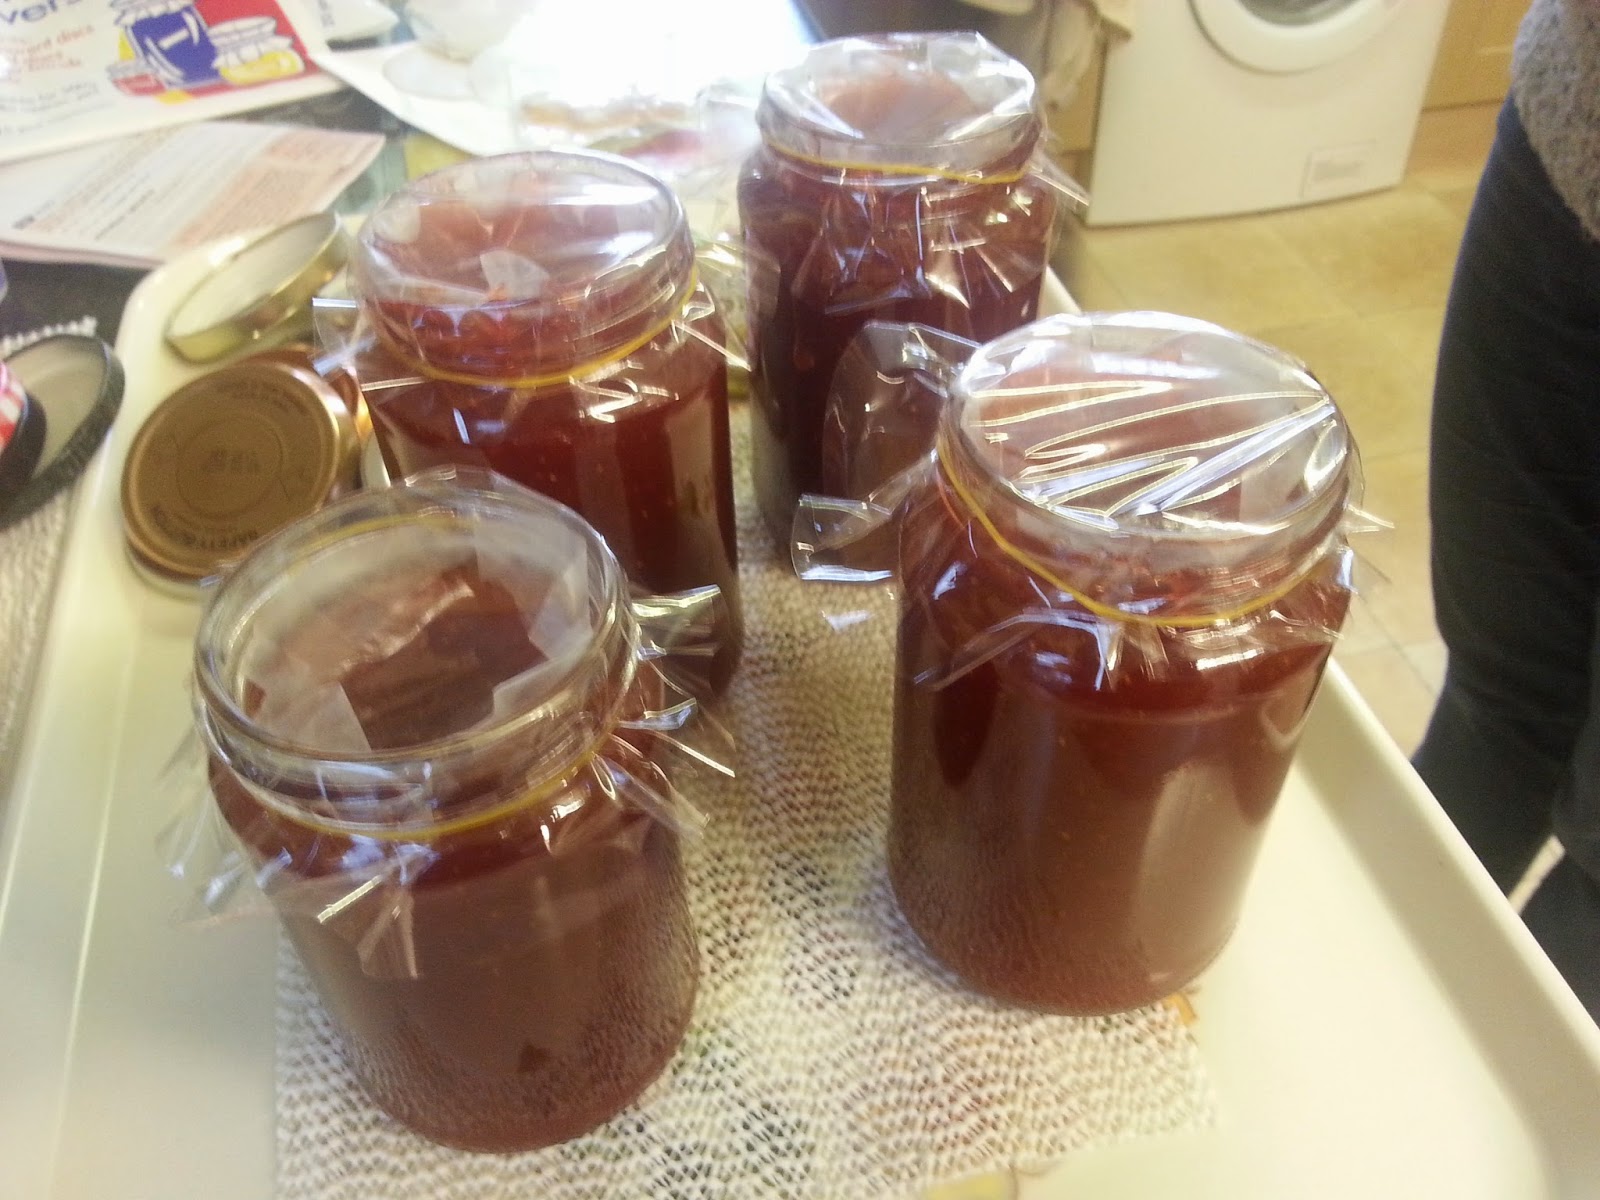
Once the jam has cooled down you can place the plastic covers on and secure them with elastic bands these should come in the packet with the wax paper jam covers.


Lastly enjoy with some delicious scones. For the recipe for these scones click here.


Hope you enjoyed a sneak peek into my grannies kitchen and have a go yourself at making some jam. If you liked this blog have a look at my other blog posts subscribe and share. 

Emma 
XX