Hi everyone,
I know this blog won't be for everyone however I was at my grannies house a couple of weeks back and we were making strawberry jam and I thought it would be cool to blog about it. (PS this jam goes deliciously with the scones I made in a previous blog).
So first things first you need strawberries we used 3kg of strawberries to 3kg of sugar (now you are seeing why jam is bad for you lol) 1kg of normal granulated sugar to 2kg of jam sugar. This is a basic recipe and can be used for most fruits. This usually makes around 15 jars.

Granny sterilises her jars in the oven for 1 hour at 100C (this also heats them up so the don't crack when the hot jam is poured in) they need to be kept in the oven until the jam is ready to pour. You will also need to put a small plate in the fridge, this will be to test the jam later to make sure it is setting right.
Once the jars are in the oven and the plate is in the fridge its time to start on the jam. We blend our strawberries until smooth then add them to your pot. I would recommend using a preserving pot for this quantity of jam.

Add the blended strawberries to the pot and bring up to a boil when this happens start to add your sugar slowly stirring continuously.


Once all the sugar has been added leave the mix to come up to a rolling boil and set a timer for 4 and a half minutes. Once the time is up turn of the heat.

Then you will need to 'de scum' the jam. There will be a lot of foam like stuff in top of the jam you need to get a spatula and scrape all of this out of the mix.

Once you have this done you need to test for wrinkles on your cold plate. Spoon a small amount onto the chilled plate and leave for a minute then push the jam on the plate with your finger if it winkles then its done if not you need to set it back onto boil.

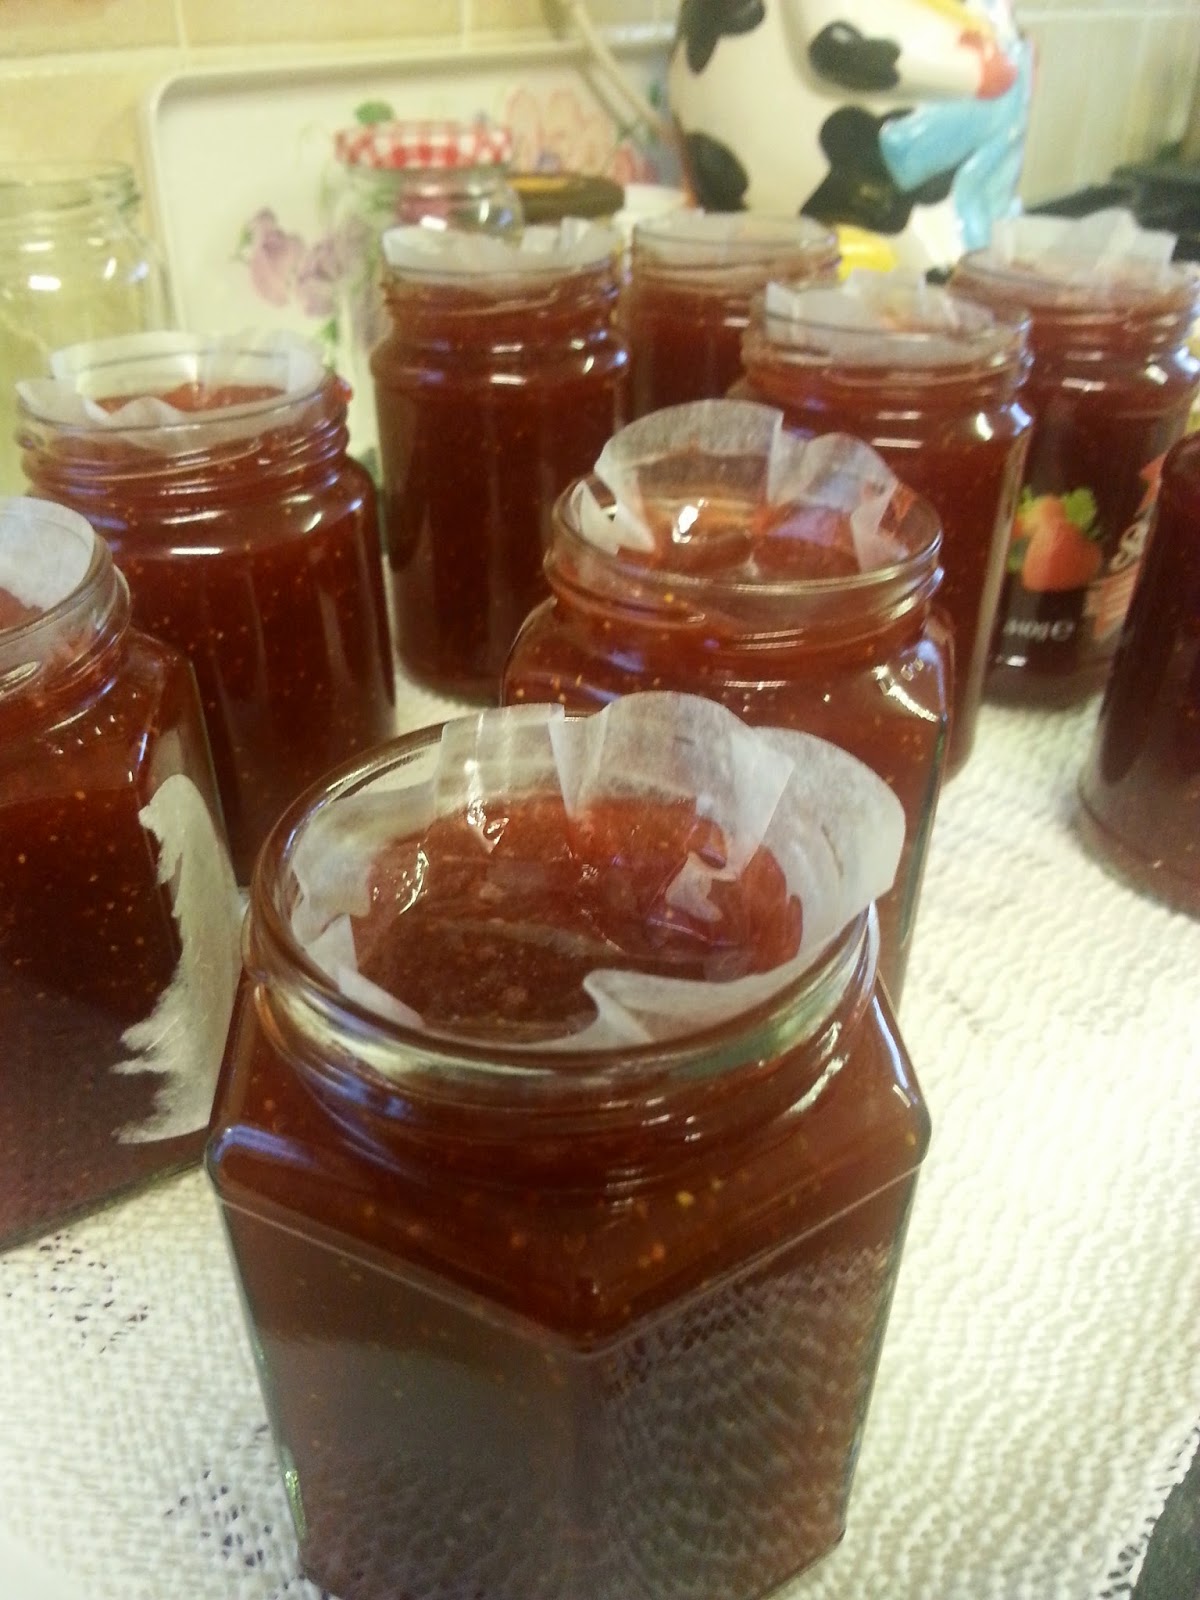
Once you have some wrinkling you need to pour it into the jars as quickly as possible as it will set. I suggest pouring into a smaller pan then from the small pan into the jars.


When you have it poured you will need to place jam covers onto the jam so that it doesn't form a hard layer on top of the jam when cooling.
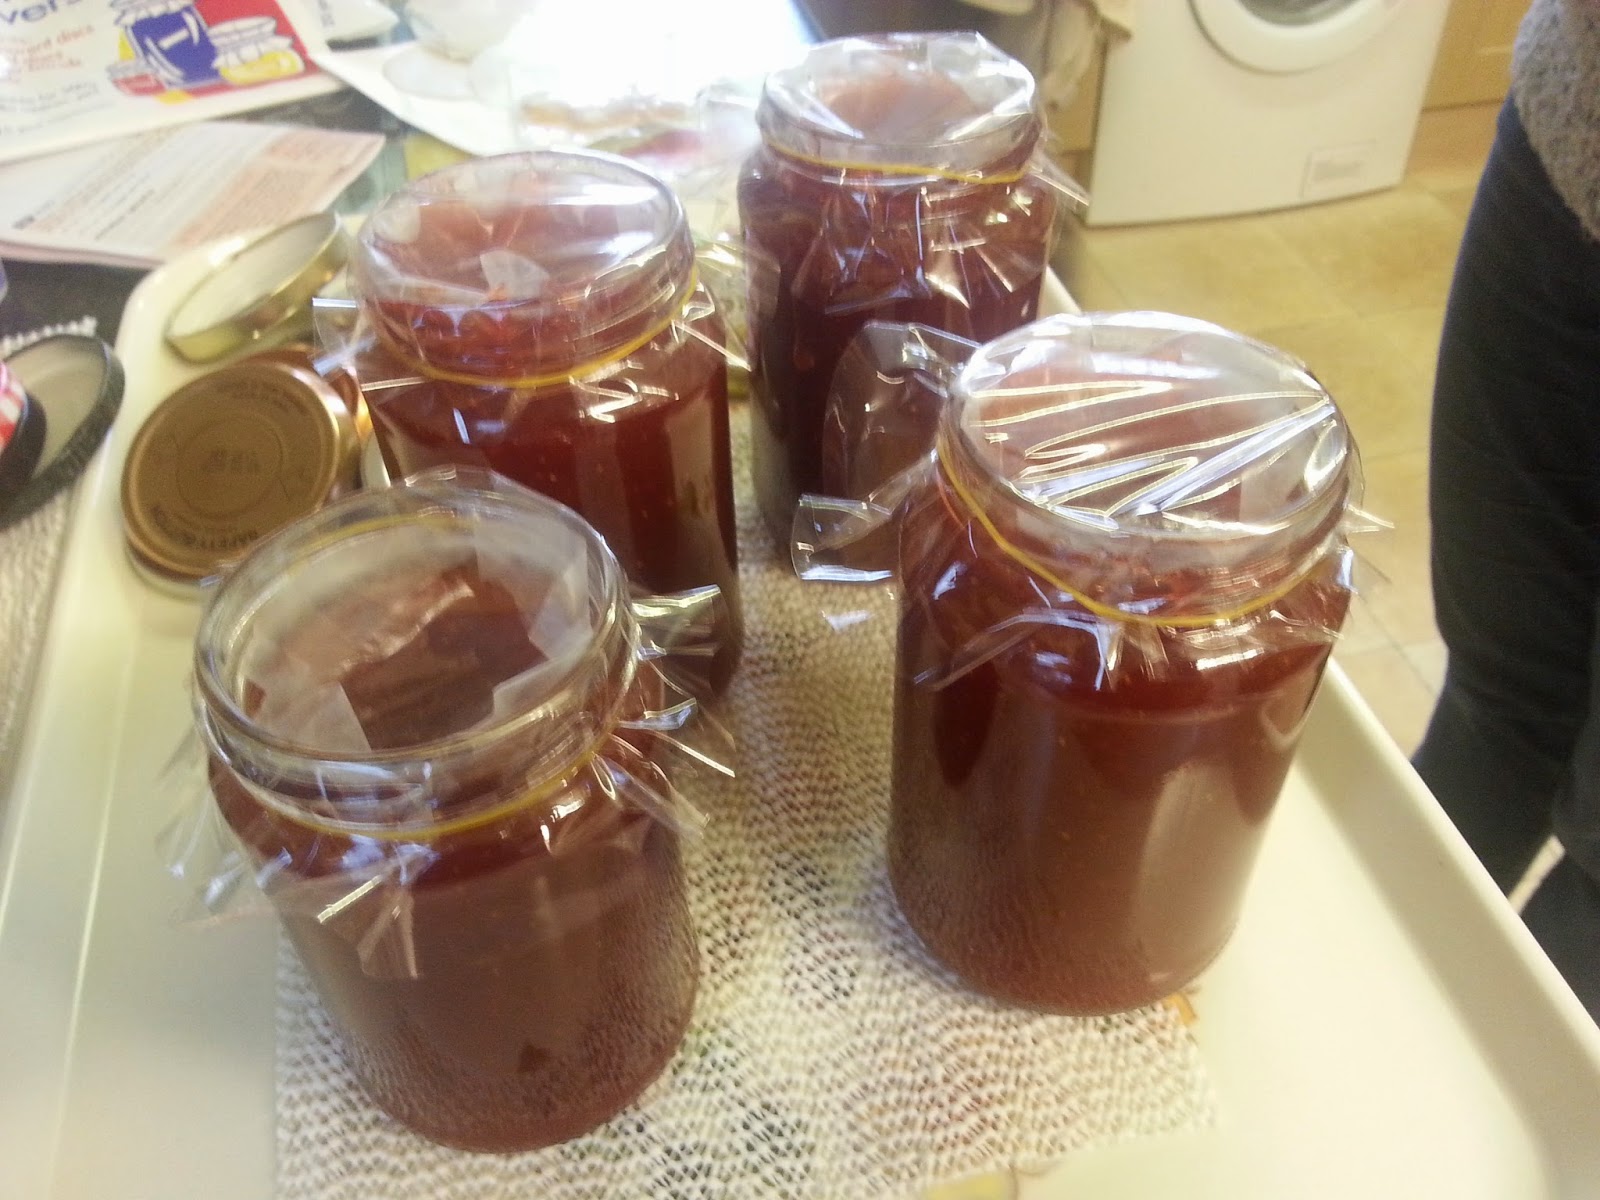
Once the jam has cooled down you can place the plastic covers on and secure them with elastic bands these should come in the packet with the wax paper jam covers.
Lastly enjoy with some delicious scones. For the recipe for these scones click here.

Hope you enjoyed a sneak peek into my grannies kitchen and have a go yourself at making some jam. If you liked this blog have a look at my other blog posts subscribe and share.
Emma
XX
No comments:
Post a Comment