Wednesday 21 March 2018

Trip to Scotland

Hi Everyone, 

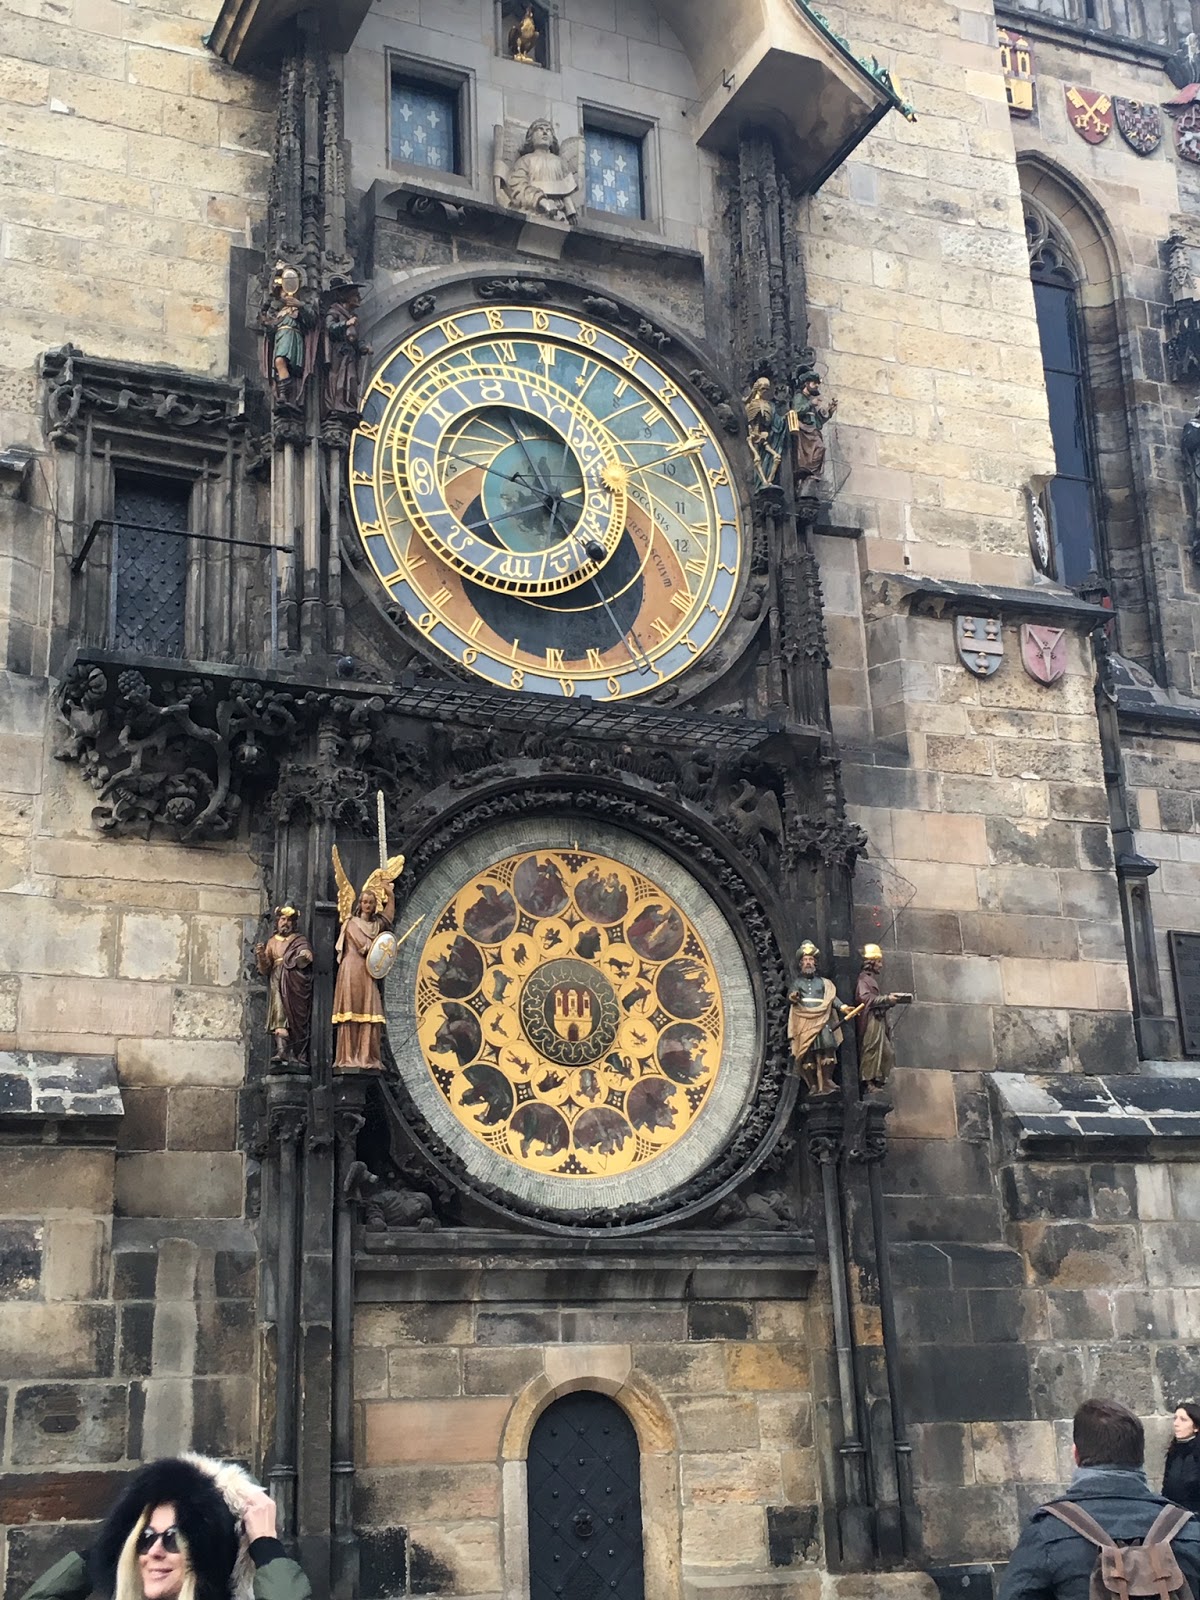
In summer 2015 we decided to go to take a road trip around Scotland. We took the Stenaline boat and rented a car from Hertz. This was defiantly one of the best holidays I have been on and the reason it took so long getting this post up was because I had over 700 photos and couldn't choose which ones to put into my blog. 

Setting sail at 7.30am meant an early start for us all, by us all I mean my Mum, Dad, Robi and myself. My Mum and Dad where kind enough to agree to take us to the boat that morning. It took about two and a half hours to get over. Our first stop along the way was a castle not 15 minutes down the road. 

Needless to say we had an amazing time and I took so many photos. So I hope you enjoy having look through and maybe inspires you to take a trip of your own.


The Devils Pulpit this was amazing to see it quite scary to get down to but defiantly worth it. The water that runs down the river appears red due to minerals in the river bed.


We took a speedboat ride around the lake at Fort Augustus, this was so fun and I highly recommend it.


We also went to see the William Wallace monument which has lots of stairs up to the top 246!


So on Monday Robi had a surprise for me when we arrived in Fort William after a really tasty breakfast at a B&B we had stayed in. The surprise was that we had first class tickets to ride the train used in the making of Harry Potter films. (I love Harry Potter.)


Robi had a bottle of champagne waiting for when we got on which was a nice surprise.


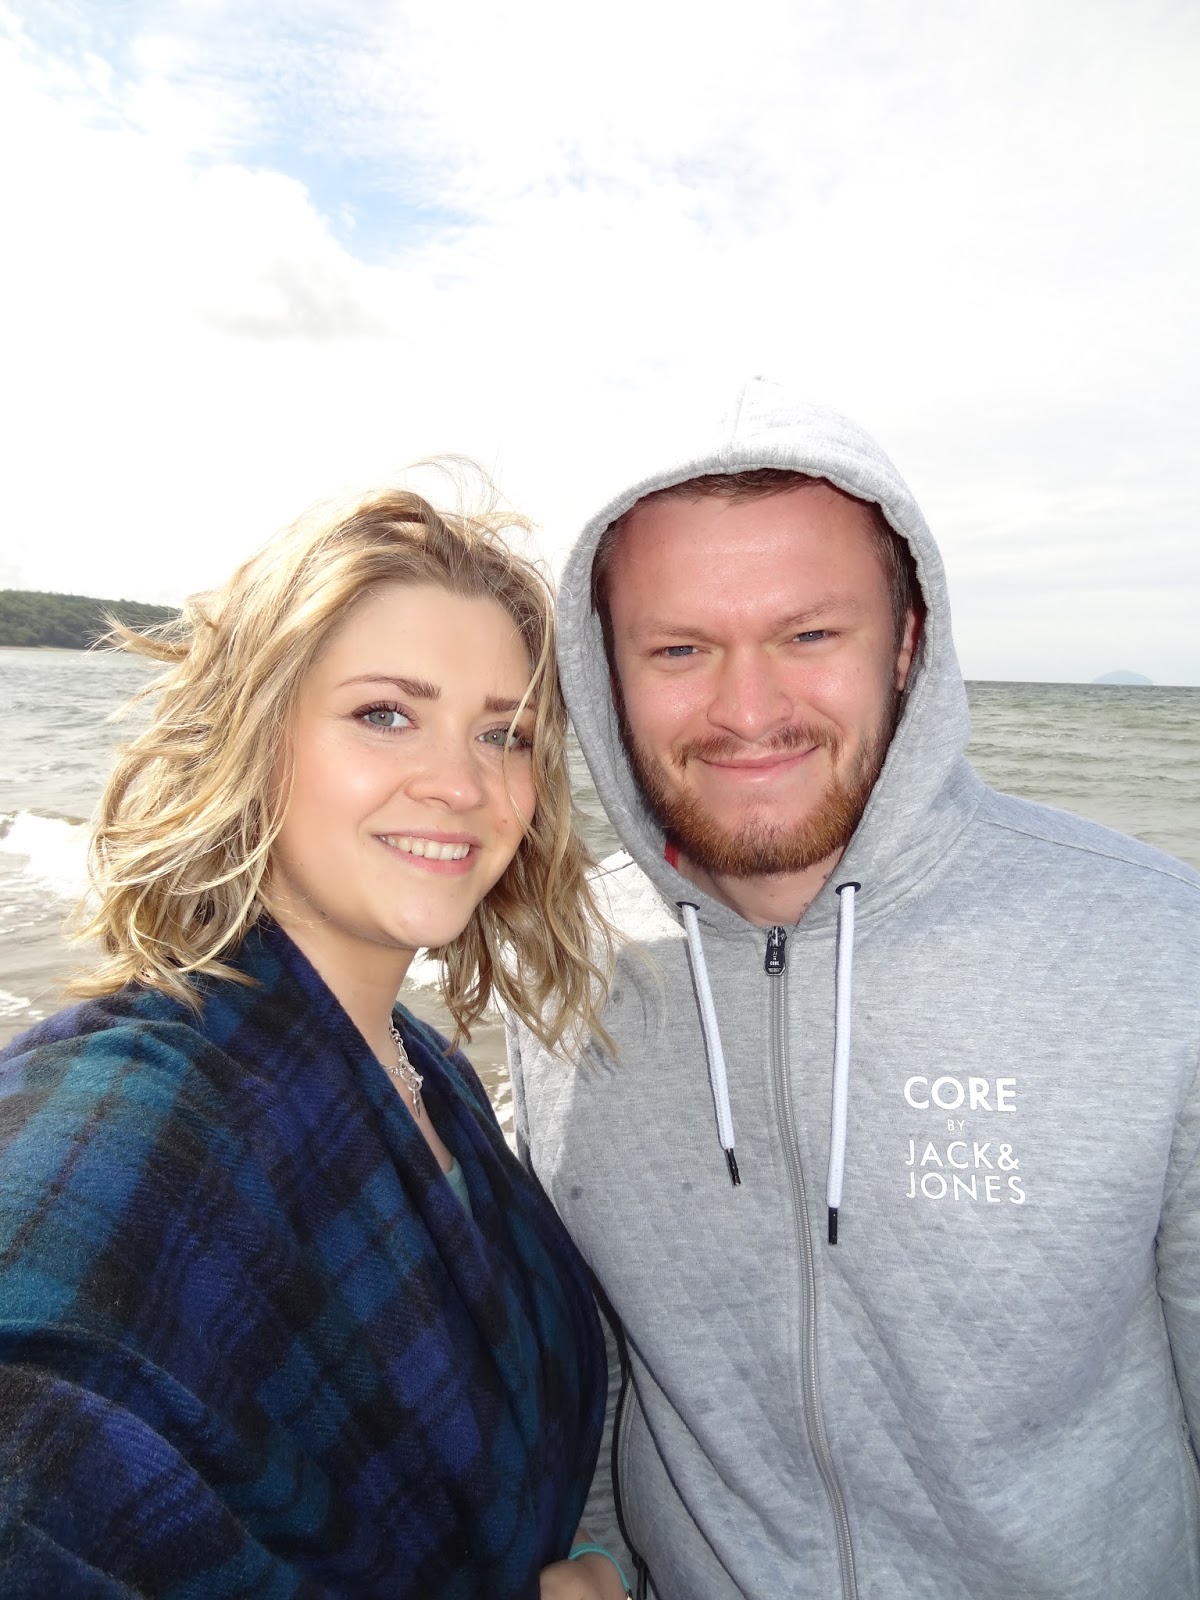
On the last day we decided to go to the beach which was so fun it was cold but the sun was out.


So hope you liked having a look through my photos if you did hit that like, share and subscribe button.

Emma
XX

Tuesday 1 March 2016

Weekend in Prague

Hi everyone,

I recently had a spontaneous weekend away to Prague and it was amazing, the sights, the food, the whole atmosphere was so lively and exciting. S here are some photos of our adventure to the Czech Republic.

This was the sunrise we had got up to see on the Sunday that we were there on the St Charles bridge. If anyone ever goes to Prague this is a must do and I know sunrise is a very early start but it is spectacular.


These steps lead up to a the castle in Prague which is also a really good stop on the tourist must sees.


This is the cathedral at the castle is is beautiful and again my camera just cannot capture quite how spectacular the sight was.


 This is Prague from the Petrin tower it was so beautiful that day and I got some great shots.


Prague at night is just as busy if not even busier at night and the whole town is lit up like a Christmas tree.


 This is the famous astronomical clock and my photos could not capture anywhere near what it looks like in reality each piece is so detailed and the craftsmanship is amazing.


And I couldn't leave a blog post without some really tasty morsels the first if which is a kind of doughnuty thing with cinnamon, sugar and nuts over it. I couldn't get enough of these batboys they where the best thing I have tasted where doughnuts are concerned. Defiantly worth the calories to try this if you go over.


This was my dinner on the first night and man was it good the chicken and tomato sauce was incredible and the chips where cut in wafers it was the best dinner I had there. I can't remember the restaurants name but it was medieval themed which was also fun.


Well I hope you enjoyed some of my wandering, if you did then hit that like and subscribe button.

Emma
XX

Wednesday 23 December 2015

12 Days of Christmas: Day 12 - Chocolate Orange Cupcakes

Hi everyone,
So I'm pretty sure everyone likes Terry's chocolate oranges (by the way they should defiantly bring back the its not Terry's it mine advertisements). I thought this recipe would have to be one of my blogs as it just sounded amazing and by the way it tastes amazing as well. 
So get your mixer out and . . . Happy Christmas!

Cupcakes

130g self raising flour
130g caster sugar
130g butter
2 large eggs
1 fresh orange 
(Zest and 2 tsp of orange juice.)
40g chocolate orange

Cupcakes: 
Pre-heat oven to 175°C.Place 12 muffin cases in a muffin tray.

Measure out butter and sugar into same bowl and cream together until well mixed and turns lighter in colour.

Measure out flour into a separate bowl and add the baking powder.

Add 1 egg to the creamed butter and sugar along with a tablespoon of the flour and mix well. Repeat this part of the process 1 egg at a time to give a lighter mix.


Chop the chocolate orange into small chunks, leave to side for a minute. Gently stir in the remaining flour, chocolate orange and orange zest/juice.


Scoop mixture into cases (about half full). I use an ice cream scoop for doing this.

Place the mixture in the oven for approximately 15-20 minutes (check after 15 minutes to see if cooked). Cakes will be cooked when they are springy when lightly pressed on top.


Butter Icing

125g unsalted butter, softened
150g icing sugar, sifted
1 tbsp freshly squeezed orange juice
zest of half an orange
12 pieces of Terry's chocolate orange 

Soften the butter, place in the microwave and heat in 10 second bursts, checking each time to see if butter is softening. If I'm baking I usually leave the butter out on the bench for a couple of hours.

Carefully add icing sugar to avoid clouds of icing dust. Mix until fully incorporated and butter icing becomes whiter.

Add a little orange essence or fresh squeezed orange juice to the mixture.

Using a large star nozzle, pipe swirls of butter icing onto the cakes. Decorate with a chunk of chocolate orange or sprinkles of roughly cut chocolate orange.


Have fun eating these delicious christmas treats, you could make them for a christmas party or a gift for your family and friends. Or make them just for the sake of it because they really are that good.

Don't forget to like, share and subscribe and check out my other blogs if you liked this one. P.S I am doing blogs all throughout the Christmas season so check back and see what else you could get making this Christmas. If you do decide to recreate this or any of my other crafts or baking blogs I would love to see them so tag me on TwitterFacebook or Instagram.

Emma
XX

Tuesday 22 December 2015

12 Days of Christmas: Day 11 - Last minute Treats

Hi everyone,
Day 11 so we are almost there and I'm sure there are some people out there who just feel like they need to get something extra or feel like they have forgotten something. These treats are great to have about the house over the Christmas period if you have any visitors dropping they are quick and simple to make. And they are sure to wow any guests that try them.
So use those last minutes and. . . Happy Christmas!

So the first little treat I have for everyone is peppermint lollypops. They are so cut and are absolutely delicious, great to give as little gifts as well.

So to start you will need:
White chocolate
mini candy canes
lolly pop sticks

To make them all you need to do is melt the white chocolate in a bowl over some hot water. While that is melting position your candy canes and sticks the way I have in the second photo. 

Once the chocolate has melted spoon into the space left between the candy canes, before they dry pour some sprinkles over them to make them look pretty. 


Thats them done just put into a cute christmas cup or wrap in a little gift bag if you want to give them as gifts. They are really cute thing to make with children if you need to keep little ones busy.

The other treat that is really fun and quick to make is chocolate oranges. Just peel a large orange.


Get your toppings ready I melted dark and white chocolate and had some sprinkles, marshmallows, coconut shavings and cranberries.


So dip your oranges into the chocolate and sprinkle your topping over the top.


I really hope you enjoyed these Christmas blogs, I had lots of fun making them and thinking up things to do in them I really hope you all have a really Happy Christmas and a great New Year. As always if you enjoyed this or any of my other blogs please like, comment and share. If you did decide to try any of these little treats please tag me on  TwitterFacebook or Instagram.

Emma
XX

Saturday 19 December 2015

12 Days of Christmas: Day 10 - Marshmallows

Hi everyone,
Day 9 this is really flying in I can't believe there is only 3 more days of Christmas blogs left. Today I thought I would make marshmallows togo with the hot chocolate I did on day 3. However don't feel that they must go into hot chocolate they can and I fully encourage the eating of these marshmallows on there own. They are so easy to make I actually had all the ingredients in my cupboard to make these. So get the hot chocolate brewing and . . . Happy Christmas

3 packets of gelatine
1 cup of water divided in two
1 1/2 cup of granulated sugar
1 cup corn syrup
1/4 tsp salt
2 tbsp of whatever flavouring you wish, I used vanilla for these

Add the gelatine and 1/2 cup of water to your mixer and allow this to sit while you get the syrup ready.


In a saucepan add the corn syrup, sugar and other 1/2 cup of water. You need to keep stirring this until the sugar dissolves. Raise the temperature to high and using a candy thermometer wait until it comes up to 115°C. Don't worry when it starts to bubble up thats what it is supposed to do. Do not turn the temperature down.


Once it has got to 115°C take it off the heat and turn your mixer on low, slowly pour the syrup mix into the mixer. Be very careful as this is boiling sugar and will scald you if it gets on your skin.

Once all of the syrup mix has been added turn your mixer up high and leave to mix for about 15 minutes. It will get all white and fluffy looking. Add in your flavouring and mix until combined.


You will need to line a tray with cling film and coat the cling film in icing sugar. Then pour your marshmallow mix into the tray leave for about 4-5 hours and then you can cut it up I used a pizza cutter it seems like the easiest thing to cut them up with. When you have cut them all up coat the edges in icing sugar to stop them from being sticky.


Thats them done your marshmallows are ready to eat. This took me about 30 minutes to make them and a couple of hours of firming up time, it really was very easy. The hardest part was not eating it as I was getting it into the tray.


Hope you enjoy making these they are super tasty and really easy to make. Don't forget to check out my other blogs and have a go at some of the other christmas stuff I've been creating for you viewing pleasure. As always like share and subscribe and if you do attempt any of the things I have been doing please tag me in them  TwitterFacebook or Instagram. I really love seeing your take on anything I post.

Emma
XX

Thursday 17 December 2015

12 Days of Christmas: Day 9 - Wine glass snow globes

Hi everyone,
I know this isn't going to be the top of everyones list but for those who have some spare time (or need to give the kids something to do) I give to you the table decor blog. I have combed the internet looking for amazing christmas tables, and then settled for the stuff I could probably recreate. 
So get decorating and. . .Happy Christmas!

So the first one I have got for you is very simple and so pretty everyone will be asking where you got them. They are wine glass snow globes. I can already hear the ohhhhhs! 

So for this you will need :
Wine glasses
Card
Glue
Fake snow
Small decorations 
(cake toppers are good)


So the first thing you will need to do is turn your wine glass upside down onto the card and draw around the glass. you will then need to cut this circle out. 


Using the circle stick any decorations onto it with the glue. Heres what I did with mine. I also put glue al over the stem and base of my glass and sprinkled the fake snow all over it.


Keeping the wine glass right side up pour some of the fake snow into the glass. Then coat the rim of the glass with the glue.


Place your card onto the glue with the decorations on the inside of the glass leave for a few minutes to set then turn upside down. 


You can add a candle to the top of the glass or leave it as it is but that is your pretty wine glass snow globes done. Theses are the finished products that my sister, mum and me made I think they look pretty cool and will be really nice sitting on the kitchen table all through christmas and if stored carefully they could be used year after year.

If you liked this blog go ahead and check out my others, don't forget to like and share, and keep checking back for the rest of my 12 blogs of christmas. Don't forget to check out my other blogs and keep checking back for more instalments in the 12 blogs of christmas. If you do decide to recreate this or any of my other crafts or baking blogs I would love to see them so tag me on Twitter, Facebook or Instagram.

Emma
XX

Saturday 12 December 2015

12 Days of Christmas: Day 8 - Sock snowmen

Hi everyone,
Ok these are the cutest thing I have seen on the internet yet and I had to give them a try and voila cutest christmas DIY ever. So I did go and buy socks because the white socks that I have are not very white and thats kind of gross, also I wanted to do mine with the fluffy socks that you get (so cuddly). So get crafting and . . . Happy Christmas!

Socks
Elastic bands
Scissors
Bag of Rice
Pins
Buttons
Embellishments of your choice


Cut the leg part off of the sock so the foot/toe is separate and turn the leg part of the sock inside out and grab a rubber band, twist it onto the part of the sock that you cut as far up as you can manage. Then turn the sock inside out again so the rubber band is now inside the sock.


Pouring in the rice can be messy so I used a measuring spoon. 


Fill the sock up with rice, squashing it down each time till you get it filled out really well.  It takes just over half a 1kg bag to fill one of these snowmen.


Then squish the rice around to make the shape you want. Then use another rubberband to secure the top, again as close to the end as you can.

Then take your 3rd rubberband and twist it around the center, creating the head and bottom of snowman. Don't worry about the rubberbands because you are gonna cover them up.


So now you have your basic shape you can start to add some decorations. I used some pins for the eyes and nose of mine and my mum used pom-poms, it is completely up to you how you want to decorate them.


To make little hats to cover up the top of the snowman roll up the toe part of the sock twice an pull it over the snowman head. I also put a stitch either side of the hat to keep it in place.


My sister even decided to knit her snowman a little scarf.


I put a bit of fabric glue on the buttons stick them onto the snowman.


I found an old hair band so I cut it up and made it into a scarf for my snow man.


My mums and mine finished mum added a pompom to her hat as well (its so cute).


I also used some blusher on one of my snowmen so that he would have cute rosy cheeks.


Here are our finished snowmen. Look how cute they turned out. 


So needless to say this is a great Christmas craft to do with children or adults my mum, sister and me had so much fun creating these cute little decorations.

On that note these are just decorations they are NOT toys so please do not give these to children as toys they do have small parts and pointy pins.

Hope you all have fun recreating these cute little christmas decorations don't forget to check out my other blogs as I am doing a 12 blogs of Christmas series so make sure to check those out for more crafts and some delicious Christmas recipes. If you do decide to recreate this or any of my other crafts or baking blogs I would love to see them so tag me on TwitterFacebook or Instagram.

Emma
XX