Monday, 30 November 2015

12 Blogs of Christmas: Day 1 - Christmas Cake

Hi everyone, 
I have decided to do a series of 12 blogs throughout December named 'The 12 blogs of christmas'. In this I am going to be doing crafts and baking. So prepare yourself for a very creative Christmas.

To start of the blogs I am going to do a Christmas cake. I know it can take a little bit of time to do this but in the end it is absolutely worth every delicious bite. 
So get your baking bowl and . . . Happy Christmas!

Ingredients
225g butter
225g brown sugar
5 eggs
285g plain flour
1/4 tsp ground ginger
1/4 tsp cinnamon
1/4 tsp nutmeg
1/2 tsp mixed spice
285g raisins
285g sultanas
115g cherries
55g ground almonds
55g chopped almonds
Rind and juice of 1 orange
Capful of brandy
1 medium cooking apple
140ml sherry

First thing you will need to do is clean your fruit and by clean I mean look through it and take any of the sticks the factory may have missed out when they cleaned it.


The fruit needs to be steeped in sherry, I stepped mine for a week but you can do less if you wish but no shorter than 5 days. On baking day I grated the apple and added this to the fruit.


Baking day has arrived and the fruit has soaked up all the sherry now its time to get everything else ready.


The cherries will need chopped into quarters and 'floured' (cover them in plain flour so that they will stick to the mixture and won't sink to the bottom of the cake).

You need to prepare your baking tin I have a 9" square cake tin. You need to double line the tin with baking paper and then fit a piece of thick cardboard around the outside of the tin. This will help to stop the cake during as it has to be in the oven for a long time.


So first into the mixer is the butter and sugar, mix on a medium speed until it turns a pale golden colour.


You will need to beat the eggs and strain them through a sieve to make sure there are no lumps in the egg mix. The flour along with the spices need to be sieved and placed into a bowl. 

Add the flour and eggs alternatively in about 3 additions.


Next add the ground and chopped almonds until incorporated. Stop the mixer at this stage and scrape any unmixed ingredients from the bottom with a spatula. The brandy and orange can now be added.


Then take the bowl out of the mixer and swap to a spatula or wooden spoon, slowly add in the steeped fruit and then the cherries.


The mix can then be spooned into the prepared tin and placed in the oven.


Once in the oven the temperature needs to be changed a few times. Heat the oven to 180°C and bake the cake at this for 1 hour, then lower the temperature to 170°C for 1 hour, after this hour rotate the cake and add tin foil over the top. Bake for another hour before turning down a final time to 150°C for 1 hour. In total the cake should be in the oven for 4 hours.


You can test the cake with a skewer if it comes out clean then it is cooked if not leave it in and check every 10-15 minutes.


Once out of the oven leave the cake to cool completely in the tin. I placed a tea towel over it to stop anything like flies getting at it.


Once it has cooled you will need to remove the baking paper and then double wrap in clean baking paper then once in tin foil. When it has been wrapped up keep in a tin box until you are going to ice it.


To make the icing you will need
3 egg whites
675g icing sugar
3tsp lemon juice

Begin by whisking the egg whites until frothy.


Gradually add the icing sugar until it is all incorporated then add the lemon juice and beat until it forms stiff peaks.


To ice the cake you will need to first spread on some apricot jam. This helps to keep the cake moist and helps the icing stick. The icing needs to be made and used the same day as it will harden slightly and will not be nice and smooth looking once applied. I used a knife to create peaks on my cake and sprinkled sugar over it to make it sparkle like snow.


This cake needs to be made no less than two weeks in advance so that it can set properly if not it will be dry and crumbly, but if left then it will be moist, juicy and great with custard and cream.

I hope you have fun baking this cake and have fun eating it to. Don't forget to check out my other blogs and keep checking back for more instalments in the 12 blogs of christmas. If you do decide to recreate this or any of my other crafts or baking blogs I would love to see them so tag me on Twitter, Facebook or Instagram.

Emma
XX

Tuesday, 24 November 2015

Super Gooey chocolate chip cookie

Hi everyone,
Really tasty recipe for your today these cookies are so ridiculously tasty the first time I made them I ate almost the whole batch before anyone even knew I had even baked them. So have a go yourself and taste these amazing cookies recommended with tea. 

110g butter, softened
200g brown sugar
50g granulated sugar
1 egg
1/2 teaspoon vanilla
255g bread flour
1/2 teaspoon baking soda
1/2 teaspoon salt
1 cup milk or dark chocolate chips

Using a stand mixer or a hand mixer, cream together the butter and the sugars. Add the egg and vanilla, mix until just incorporated.


In a separate bowl, mix together the bread flour, baking soda and salt. Slowly add the flour mixture to the wet mixture.

Mix with the hand mixer for about thirty seconds to a minute and then finish mixing with your hands. Mixing by hand will form the dough into a ball and be far less crumbly. Then gently fold in the chocolate chips.

Chill for two hours or up to 36 hours. Remove from the fridge for about 15 minutes before rolling into balls.


Preheat the oven to 180C. Line a baking tray with greaseproof paper. Bake for 12-14 minutes, or until the tops are golden.


Don't forget if you liked his blog to check out my others like, share and subscribe.

Emma
XX
Friday, 13 November 2015

Ikea Alex Make-up storage

Hi everyone,

I have finally found the most amazing way to store my makeup although I don't consider myself to have all that much makeup I really wanted a way to store it all nice and neatly. Hopefully I will get more use out of it now I can see it all.

Anyway I went to ikea and bought the Alex 9 drawer unit. Yes I can hear you all now 9 drawers! how much makeup does she consider not that much, but I did use some of the drawers for hair accessories and tools.


The drawer set comes with 5 smaller drawers measuring 3 1/2in deep
and 4 larger drawers measuring just over 5in deep.
For me these measurements where perfect. The top drawers will comfortably fit most bronzers and blushes and lipsticks.

I have three pots on the top of my drawers. I have face brushes in one, eye brushes in another and everyday products in the last pot. I also have a candle from Yankee candle.


My top drawer as you can see has all my foundations, concealers and some scissors, tweezers etc. The box I have for foundations is the bottom of a glossybox (monthly beauty box) and for my concealers I used a Ferrero Rocher box.


Drawer two contains all of my blushes and bronzers and down the edge are my samples to try. The boxes in this drawer again are from my glossybox subscription.


Drawer 3 has all of my eye makeup including eyeshadows, eyebrow powder, fake eyelashes, mascara, eyeliners and paint pots. Box is from glossy box.


Drawer 4 has my lipsticks, lip glosses,  lip pencils and lip balms.  The lipsticks are in a stackable Starbucks tin I got at christmas. The lip glosses are in a glossybox. 


Number 5 is empty.

Drawer 6 houses all my nail polishes, nail art accessories and fake nails. The dividers I used in this drawer I found in the bedroom section of ikea I just cut them to the size I needed them an slotted in my nail polishes it keeps them from sliding all over the place. I have organised them by colour (with help from my sister, this ended with a different colour of nail polish on every nail).


Drawer 7 I have all my hair tools. Straighteners, hairdryer, curlers etc.


Drawer 8 has all my hair bobbles, hair clips/pins and hair bands. These boxes are an assortment of boxes which were Christmas gift sets.


And finally drawer 9 holds all of my miscellaneous stuff like empty lush pots, MAC emptys (only 3 more and I get a free lipstick!) I also have dry shampoo and lots of other things that dont really have anywhere else to go.


So I hope you enjoyed reading this post I still have an empty drawer so comment with any ideas of what I could fill it with, or any other ways you would have organised it.

I you would like an in-depth on any of the drawers comment below and I will do a makeup collection post.

I also videoed the building of the unit so if you want head on over to my youtube and have a look.


links to Ikea 


Don't forget if you liked this blog to check out my others and subscribe. Thanks for having a read.

Emma
XX

Monday, 2 November 2015

Mum's Apple pie

Hi everyone,
I have a great recipe for everyone today, my mum's apple tart. This is the tastiest tart I have ever had and the pastry is delicious. So follow the recipe and you will get a tart as good as my mum's (maybe).

340g flour
140g margarine
30g lard
115g caster sugar
1 Egg
3 large Brambly apples
1 Egg beaten

Cut up the margarine and lard into the flour and mix until it resembles fine bread crumbs.


Add the sugar and mix until combined.

Beat up the egg and add to the mix to bind it together. Once it has almost blinded together remove from the mixer and finish by hand.


Knead into a ball and wrap in cling film to chill in the fridge overnight.


Once your pastry has chilled overnight lift out of the fridge and cut in half, each half being the top and bottom of the pie.

Turn on your oven to 170C.

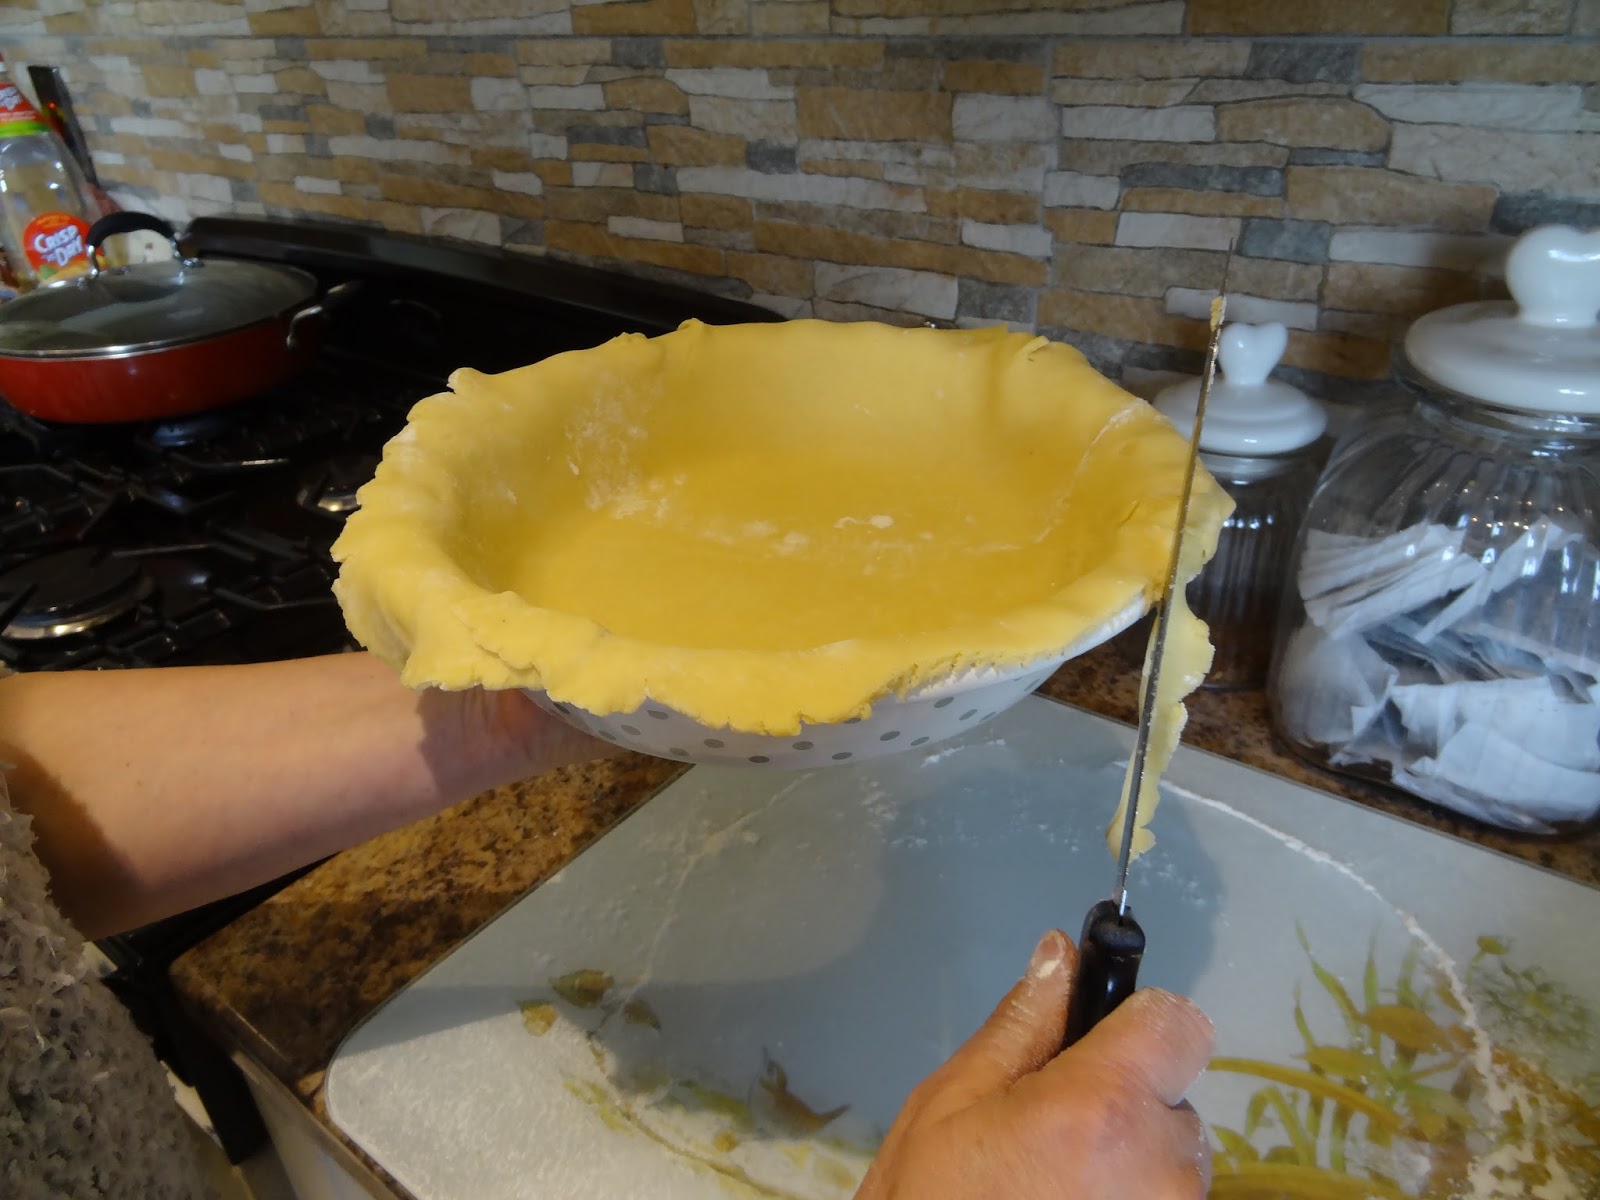
Sprinkle flour on to your worktop, give a slight knead then roll out pastry to desired size (this mix will fit a 9" pie dish). try not to roll out to thin as the pastry will break. About 1/4 centimetre is a good thickness. place the bottom half of the pastry into the pie dish.


For the filling peel and core the apples then cut into fine slices. Keep the slices in a bowl of water to stop them from browning.  Layer the apples with sugar in the pie dish.


Add the top piece of pastry when doing this wet the edge of the bottom piece and lay the top piece on the the pie. Using a fork indent the edges to ensure it stays together, also make a cut in the middle to let out steam.


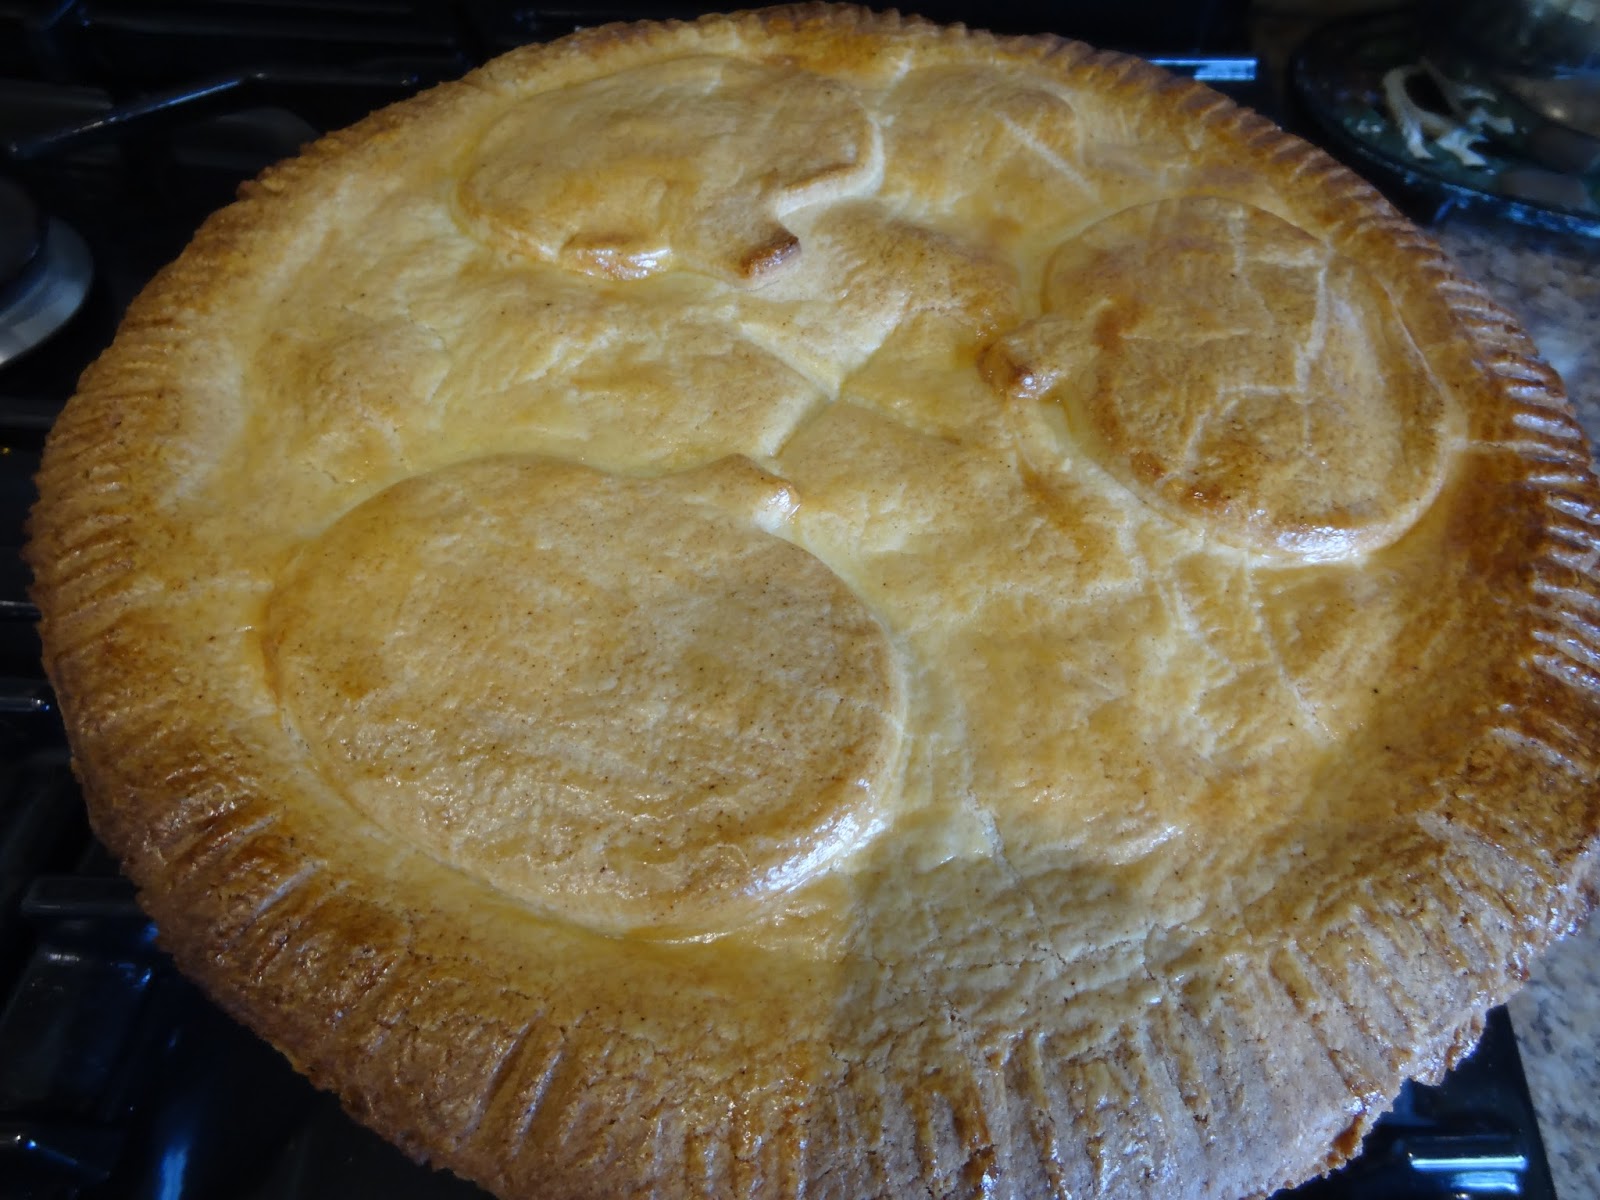
You can decorate with the left over pastry if you wish. Then beat up the second egg and using a pastry brush coat the top of the pie, this will create a really nice shine when it has finished baking.


So I hope your tart turns out well and don't forget to like, subscribe and share.

Emma
XX

Wednesday, 21 October 2015

Pumpkin Pie

Hi everyone,
So as autumn approaches I am getting really excited I love this time of year the leaves are all changing colour and big cosy jumpers are back. I was wondering what should I do for this blog and then it hit me obviously Pumpkin Pie. I love this recipe it tastes so delicious and has all the spices that I love in it. So on to the recipe (I also got a new pie dish its so cute).

Pumpkin Pie

15oz can, 450g pumpkin puree
3 large eggs
250g packed dark brown sugar
1 Tbsp cornstarch
1/2 teaspoon salt
1 Tbsp pumpkin pie spice
1/8 Tsp fresh ground pepper
240ml heavy cream
60ml milk
1 large egg beaten with 1 Tsp milk, for brushing
1 roll of ready made shortcrust pastry (or you can make your own)


For the filling: Whisk the pumpkin, 3 eggs, and brown sugar together until combined. Add the cornstarch, salt, cinnamon, ginger, nutmeg, cloves, pepper, cream, and milk. Vigorously whisk until everything is combined. Filling will be a little thick.

Preheat oven to 350F degrees. Blind Bake for about 10 minutes.


Pour pumpkin pie filling into the pre-baked crust. If you did not use a deep dish pie pan, you will have too much filling. Only fill the crust about 3/4 of the way up. 

Bake the pie until the center is almost set, about 55-60 minutes give or take. A small part of the center will be wobbly.


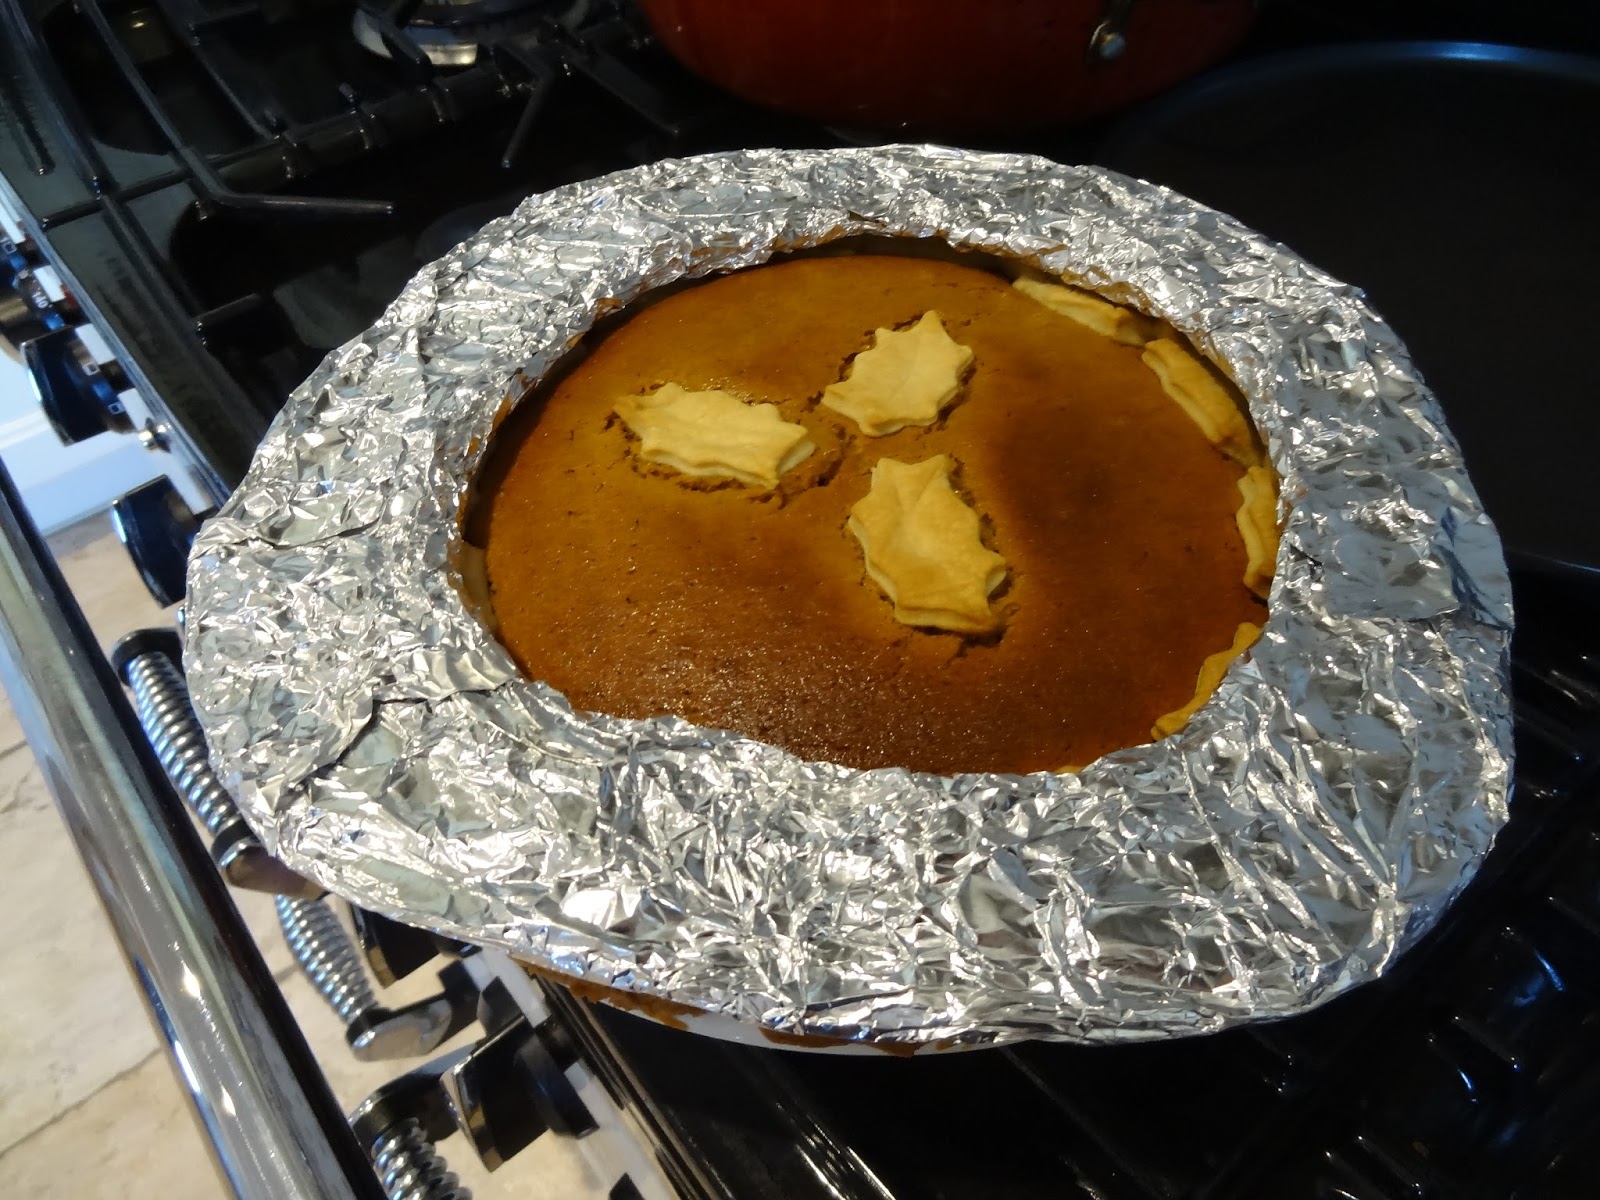
After 25 minutes of baking, be sure to cover the edges of the crust with aluminum foil or use a piecrust shield to prevent the edges from getting too brown.


Check at 50 minutes, and then 55, and then 60 if still not done keep checking at 5 minute intervals.


Once done, transfer the pie to a wire rack and allow to cool completely for at least 3 hours. Serve pie with whipped cream if desired. The pie will sink while it is cooling this is fine and don't worry when it does.


So I hope you all have a go at this recipe and enjoy eating it as much as you do baking it. Don't forget if you liked this blog to check out my others and like, share and subscribe.

Emma
XX

Wednesday, 23 September 2015

Salted Caramel cupcakes

Hi, everyone
I have a pretty tasty recipe for you all today Salted Caramel cupcakes, oh yes. I have made these before and had the immediate thought that I must make these again for my blog because they are soo amazingly tasty. I actually can't believe I waited this long to get it done and make some more of these. Realistically it is the Great British Bake Off that is getting me in the mood to do loads of baking and I pulled out this recipe and just baked them and to pure delight they turned out just as good the second time. does anyone else have that thing where they make something, its amazing and then when you make it again just can't get it right no matter what you do. Just me OK. So have a go with these and send a Tweet an Intagram or Facebook me your results happy baking.

Ingredients
130g self raising flour
65g caster sugar
65g soft brown sugar
130g margarine
1 tsp baking powder
2 large eggs

Cupcakes: 

Pre-heat oven to 175°C and place 12 muffin cases in a muffin tray.

Measure out margarine, brown sugar and caster sugar into the same bowl and cream together until well mixed and turns lighter in colour.

Measure out the flour and the baking powder into a separate bowl.

Add 1 egg to the creamed butter and sugar along with half of the flour and mix well. Repeat this part of the process with the other egg.

Scoop mixture into cases until about half full. I use an ice cream scoop for doing this.

Place the mixture in the oven for approx. 15-20 minutes (check after 15 minutes). Cakes will be cooked when they are springy back to shape when lightly pressed on top.


When cooled down make a little hole in the top of the cake using a knife and add a small scoop of softened salted caramel.


I'm going to let all of you in on a big secret. I did not make the salted caramel for these buns yes shock horror, but who has time to do that. I have included a recipe that I have used to make salted caramel before and it is amazing but for all of you out there who don't have time I just used a pot of salted caramel which is pretty tasty to, so there.

Salted Caramel

100g granulated sugar
45g salted butter
60ml double cream
½ teaspoon salt

Heat the granulated sugar in a ban marie, stirring continually. Take care that the water is not touching the bottom of the bowl. The sugar will form lumps and eventually turn into a thick liquid.

Stir continually until the sugar is completely melted.

As soon as the sugar has melted, add the salted butter. The butter will make the mixture bubble up.

Continue stirring the mixture until the butter has completely melted, then slowly and carefully add the cream as the mixture will bubble up again.

Continue to stir the mixture until it comes to the boil and then continue to heat for about a minute. It will begin to rise up the sides of the saucepan as it boils.

Remove from heat and stir in salt. You may want to add a little extra salt depending on how salty you like your salted caramel. Leave to cool before using.

Butter icing

125g unsalted butter
250g icing sugar

Soften the unsalted butter. Carefully add icing sugar to avoid clouds of icing dust. Mix until fully incorporated and butter icing becomes whiter. 

Optional, add a little salted caramel to the butter icing and mix in well.


Hope you enjoyed this little blog if you did please check out my others and don't forget to like share and subscribe.

Emma
XX